In this tutorial, we’ll take a look at Microsoft Active Directory (AD).
We’ll go through the following topics:
Table of Contents
- Setting up Windows Server 2022 Standard Desktop
- AD Domain Services (ADDS)
- AD Lightweight Directory Services
- ADLDS connection from external network
- Keycloak Integration
1. Install Windows Server 2022
Let’s quickly install the Windows Server 2022 Standard Desktop Evaluation Edition.
Begin by downloading the ISO from https://www.microsoft.com/en-us/evalcenter/evaluate-windows-server-2022.
1.1. System requirements
- RAM: 2GB
- HDD: 50GB
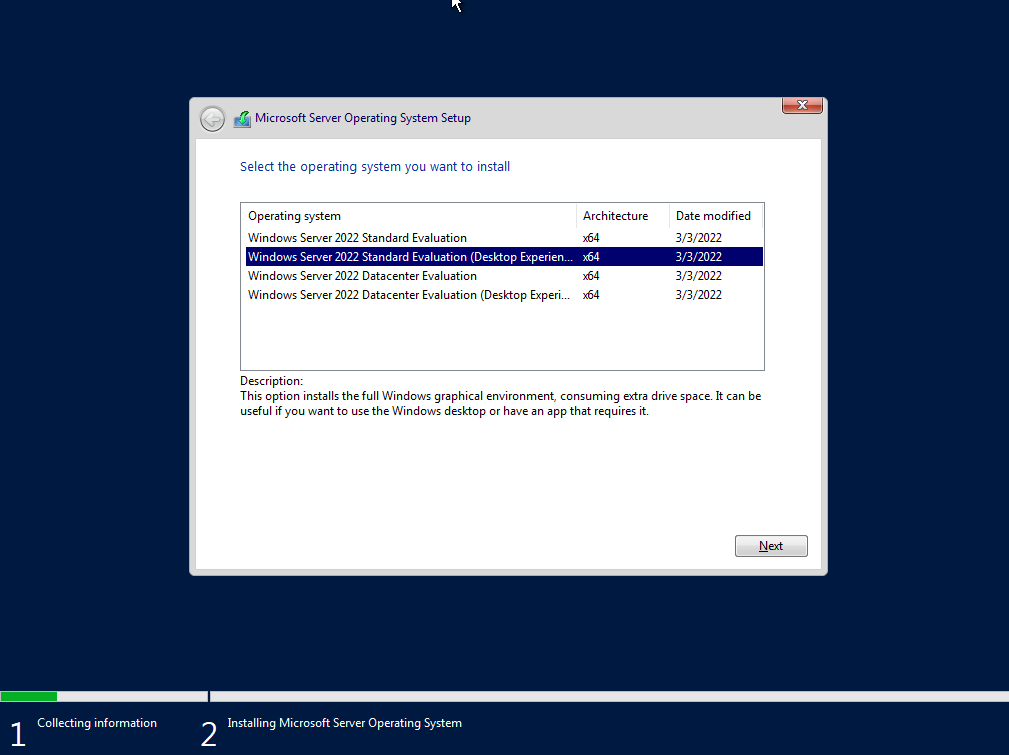
Choose your relevant settings and click Next:
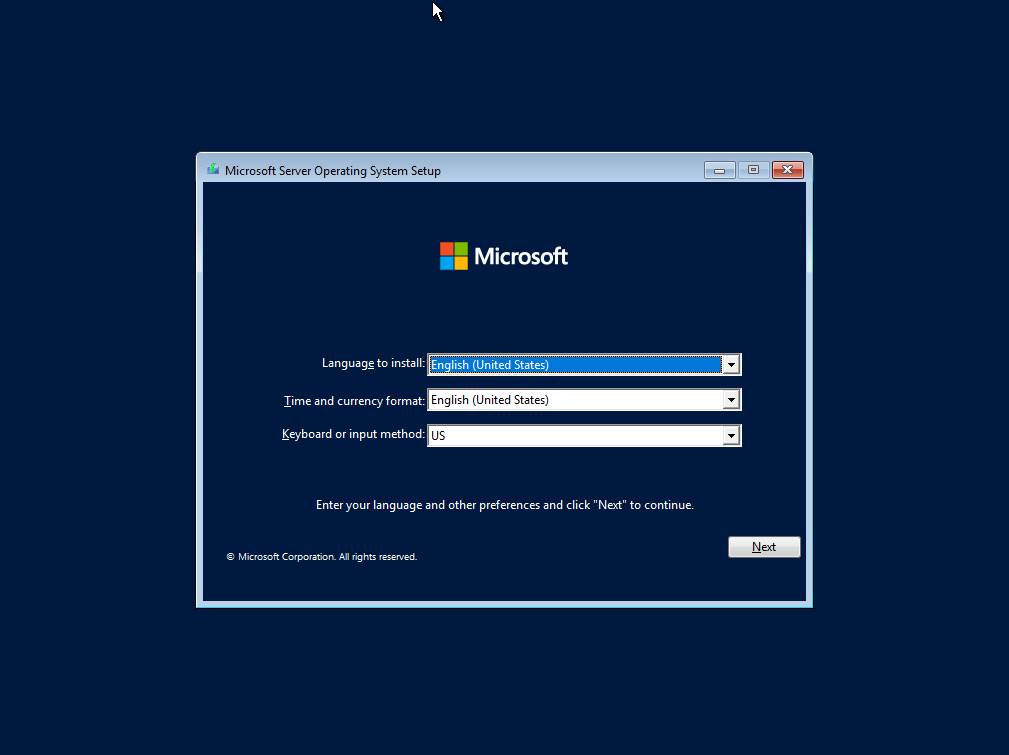
For this tutorial, I'll be using Windows Server 2022 Evalution (Desktop Experience edition)
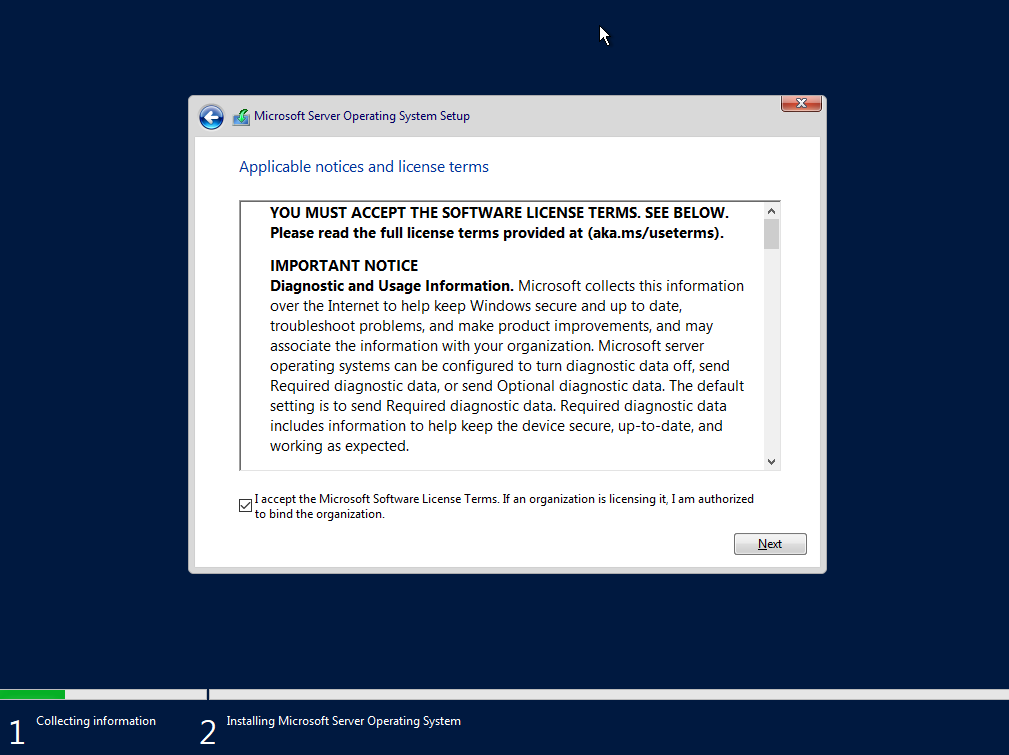
Accept the agreement
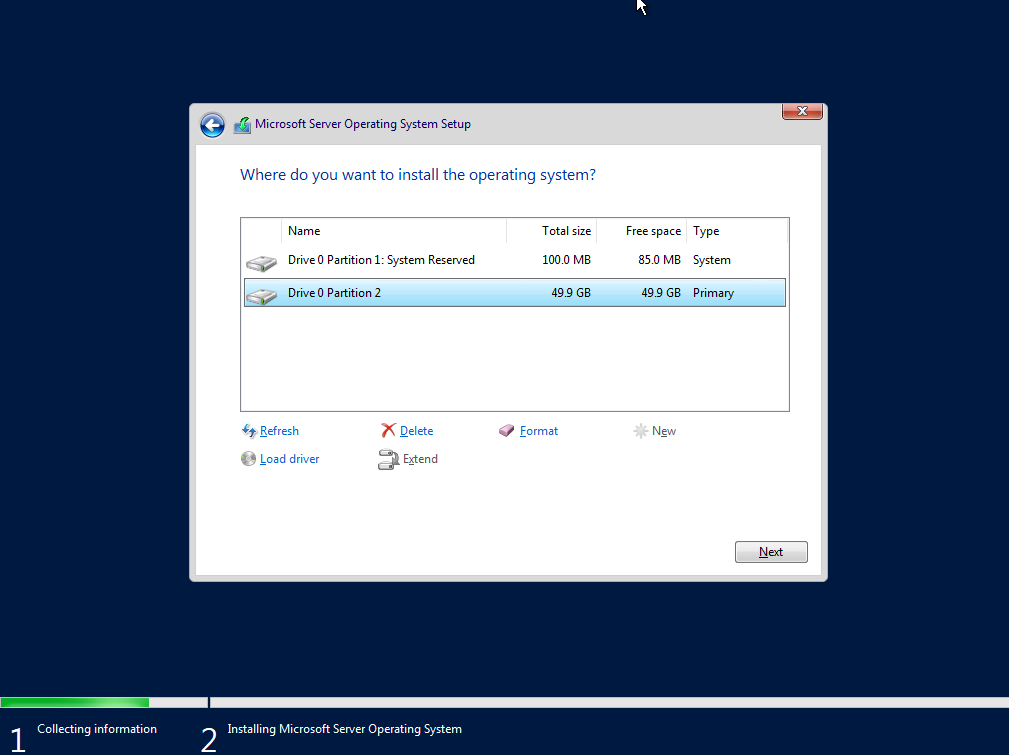
Allocate disk space (in my case 50GB) for installation

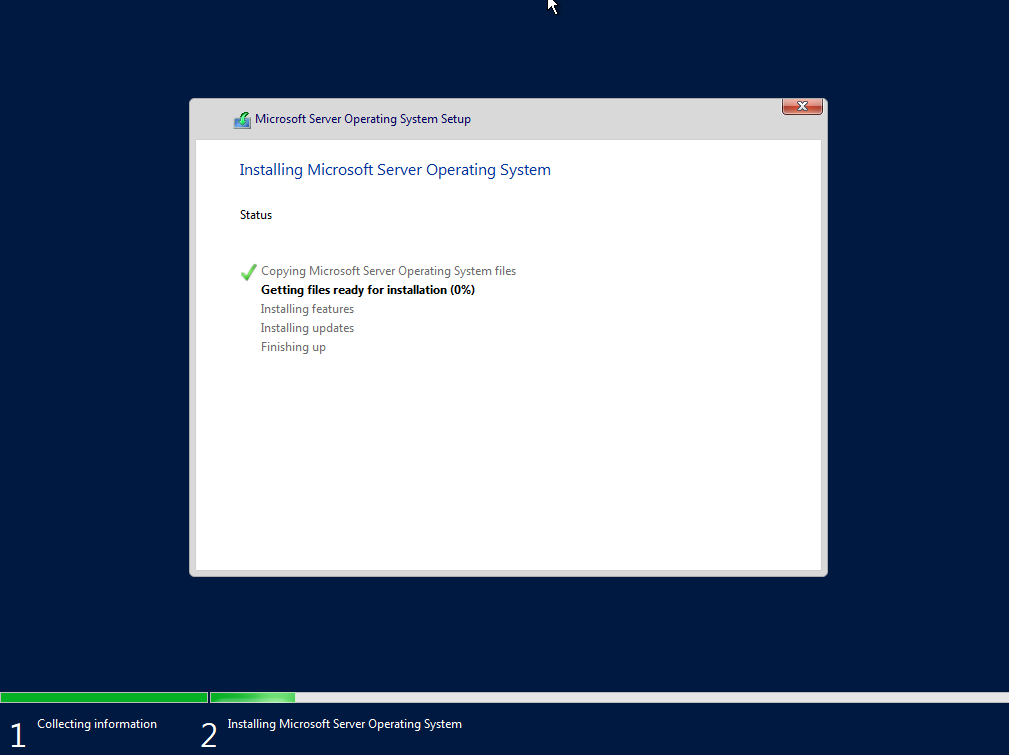
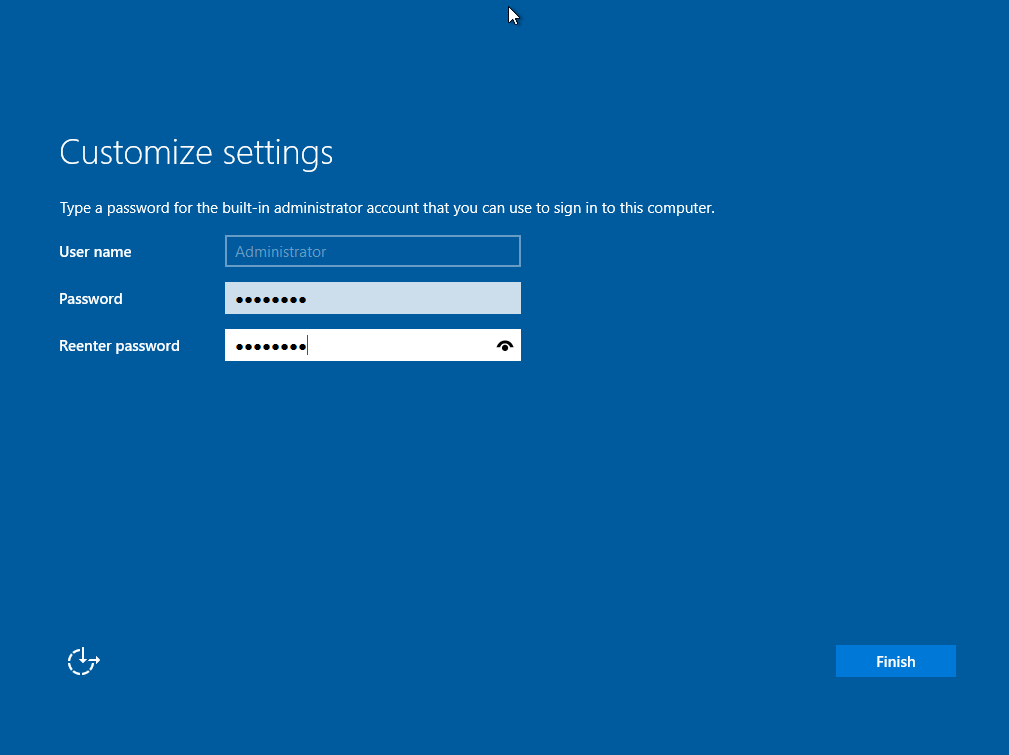
After installation is successful, it will ask you to create an administrative account
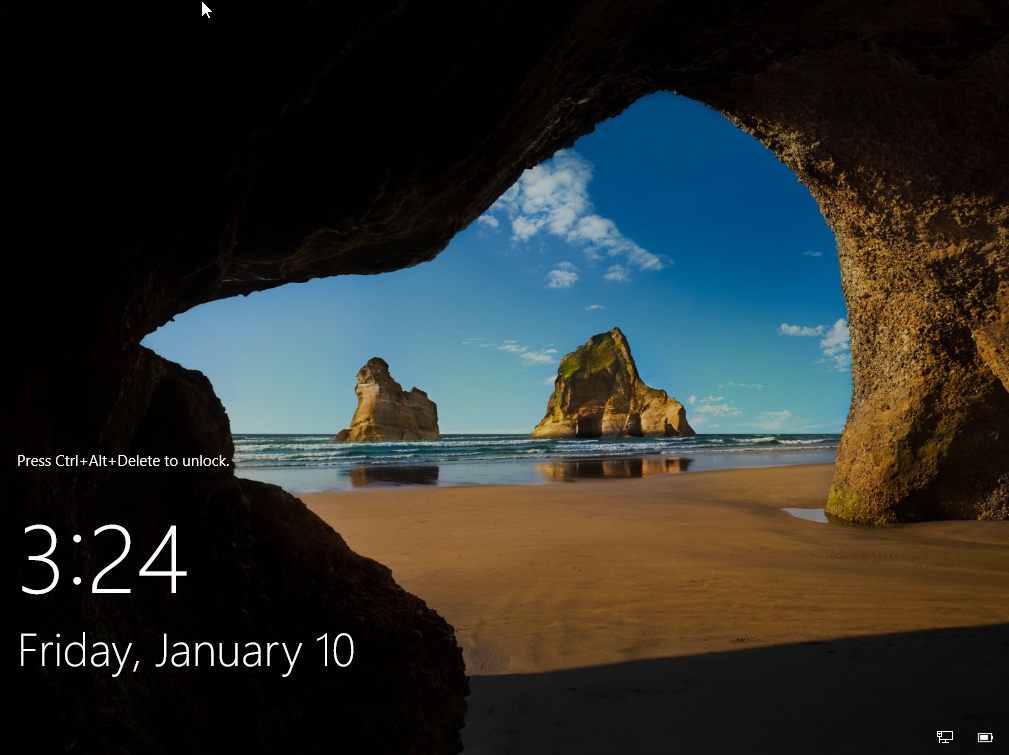
Press Ctrl+Alt+Delete to log in
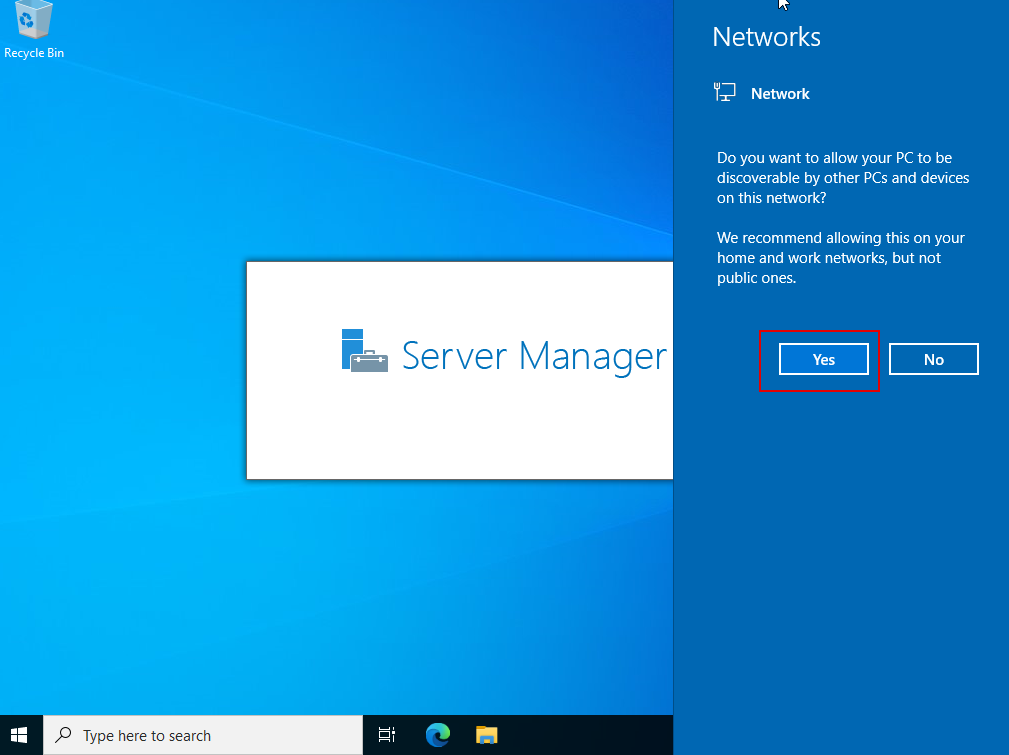
Allow this server to be discovered on your network:
Change the server name to something meaningful.
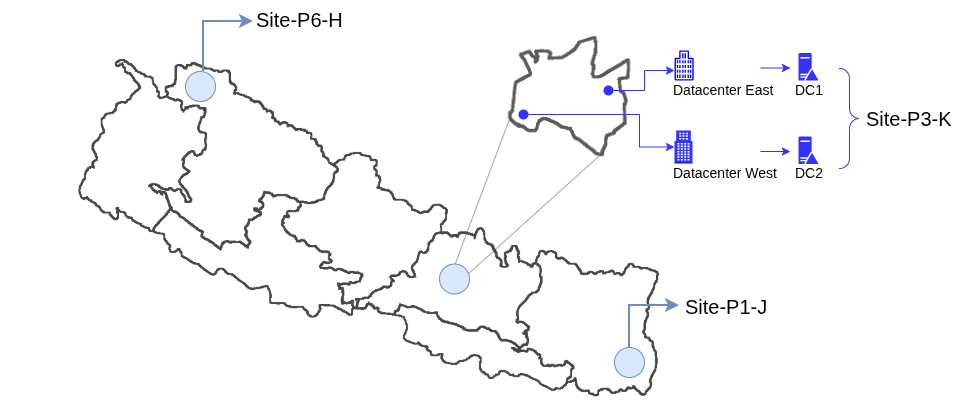
In my scenario, the server is located in Kathmandu and it is Domain Controller 01.
Therefore, KTM-DC01.
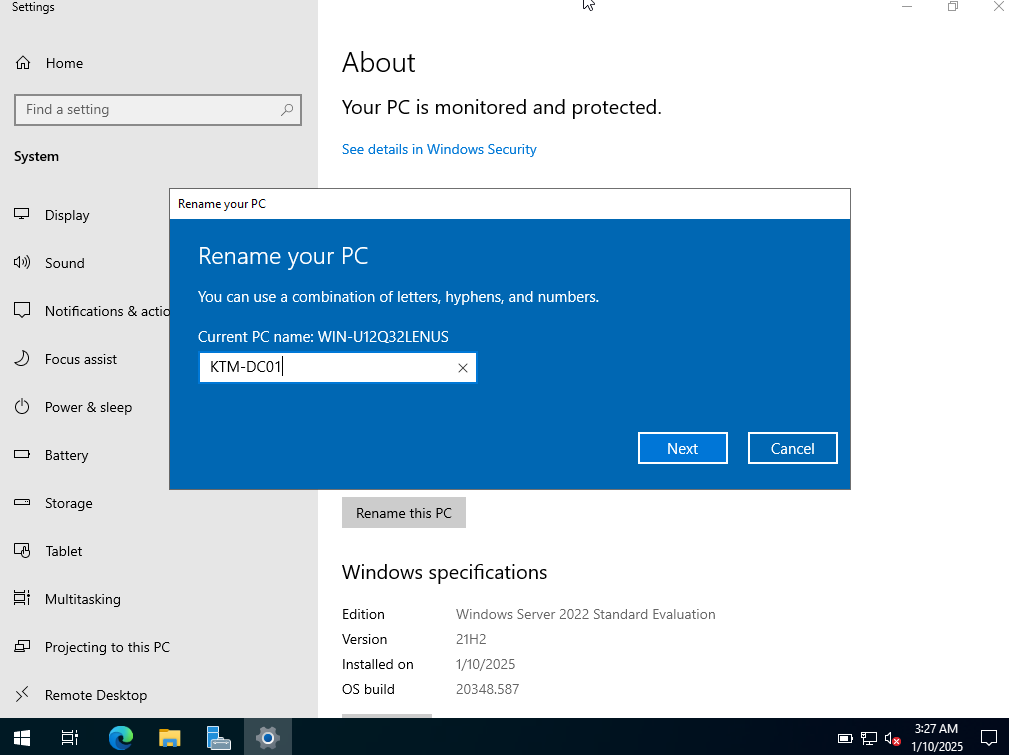
And restart the server.
Great, you've successfully installed the server. In next section we'll look into Active Directory Domain Services.
2. Install Active Directory Domain Services
In this section, you'll be installing Active Directory Domain Services (ADDS).
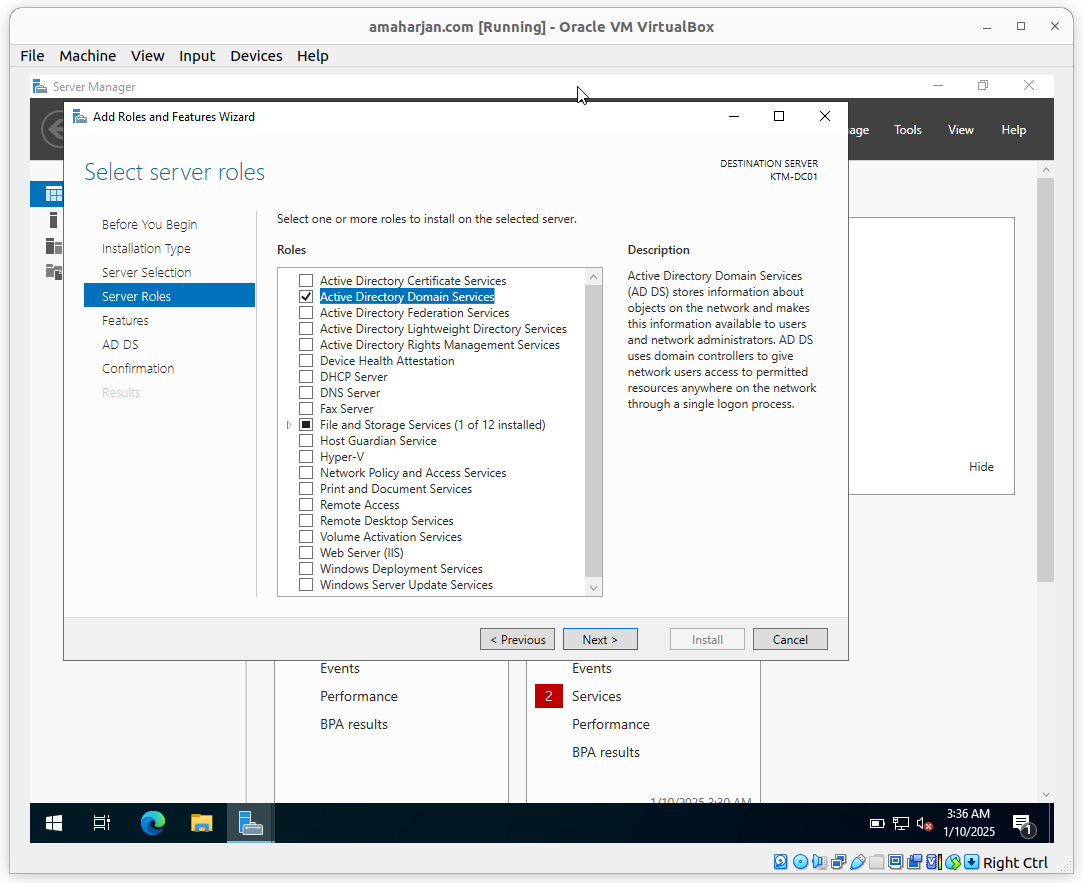
First of all, Add role called Active Directory Domain Services:
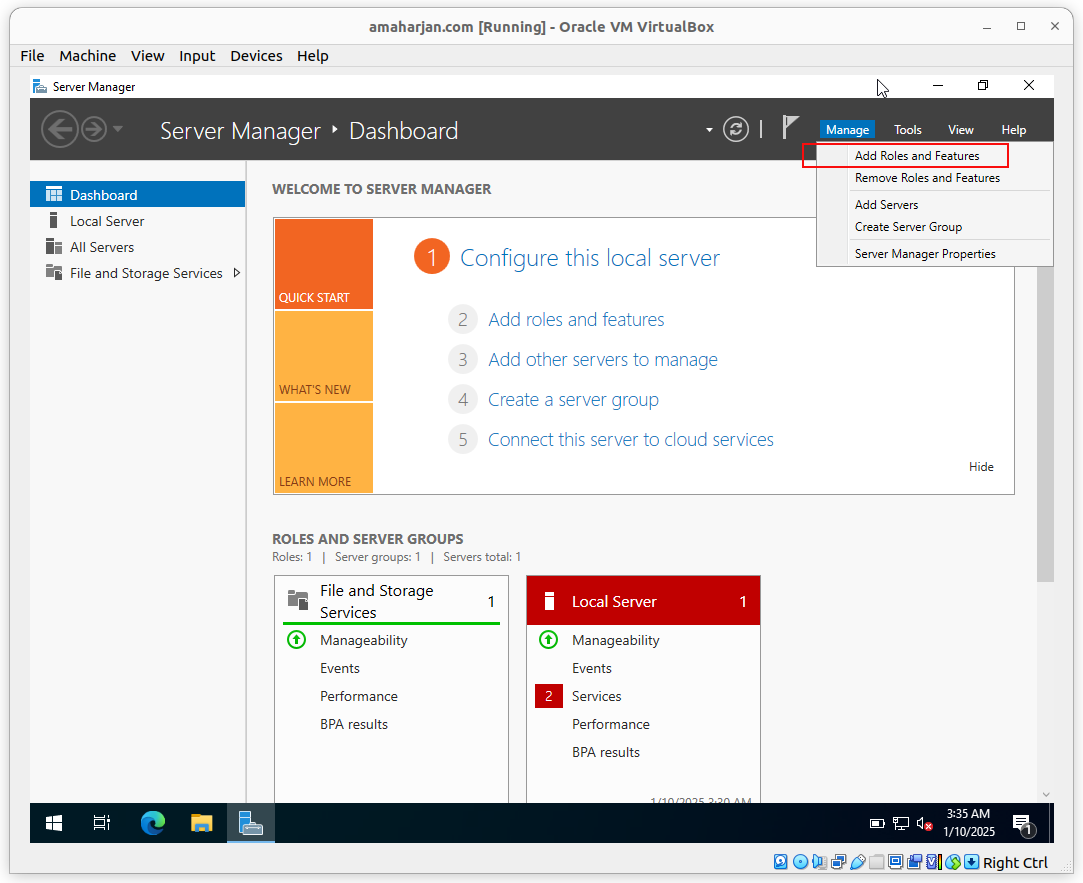
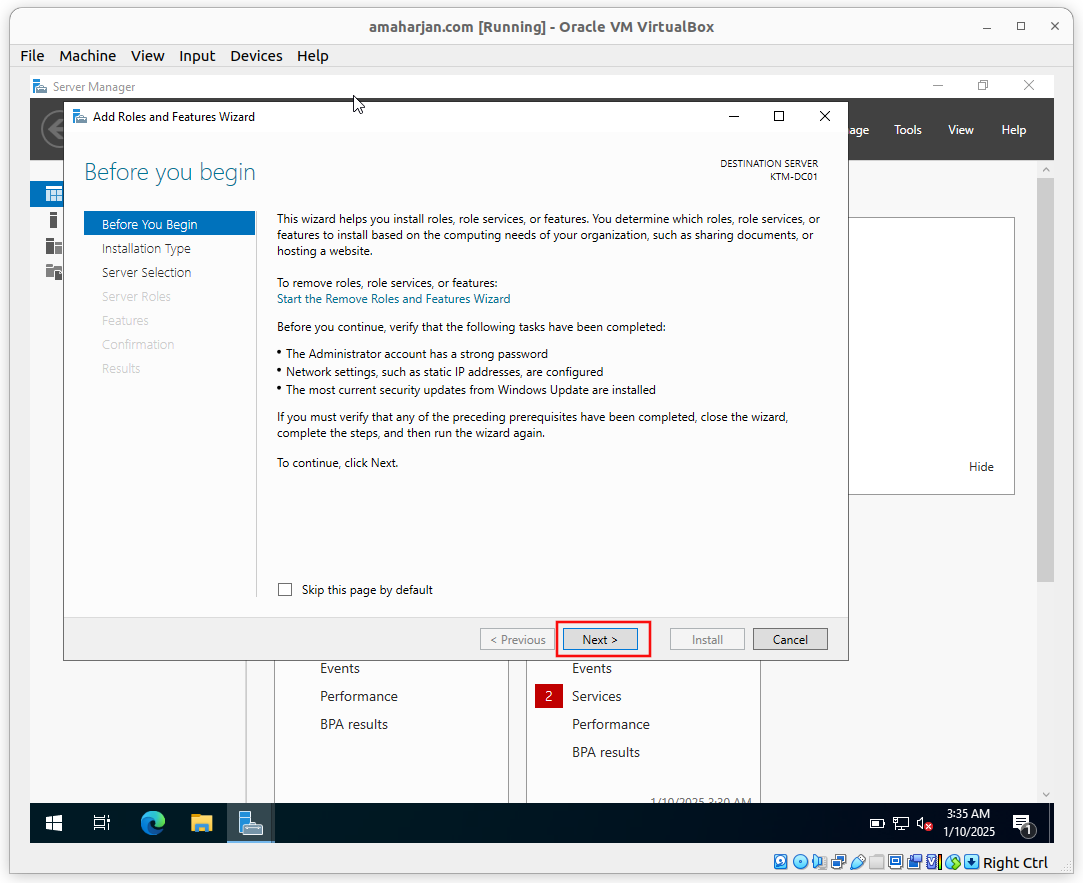
Click Next:
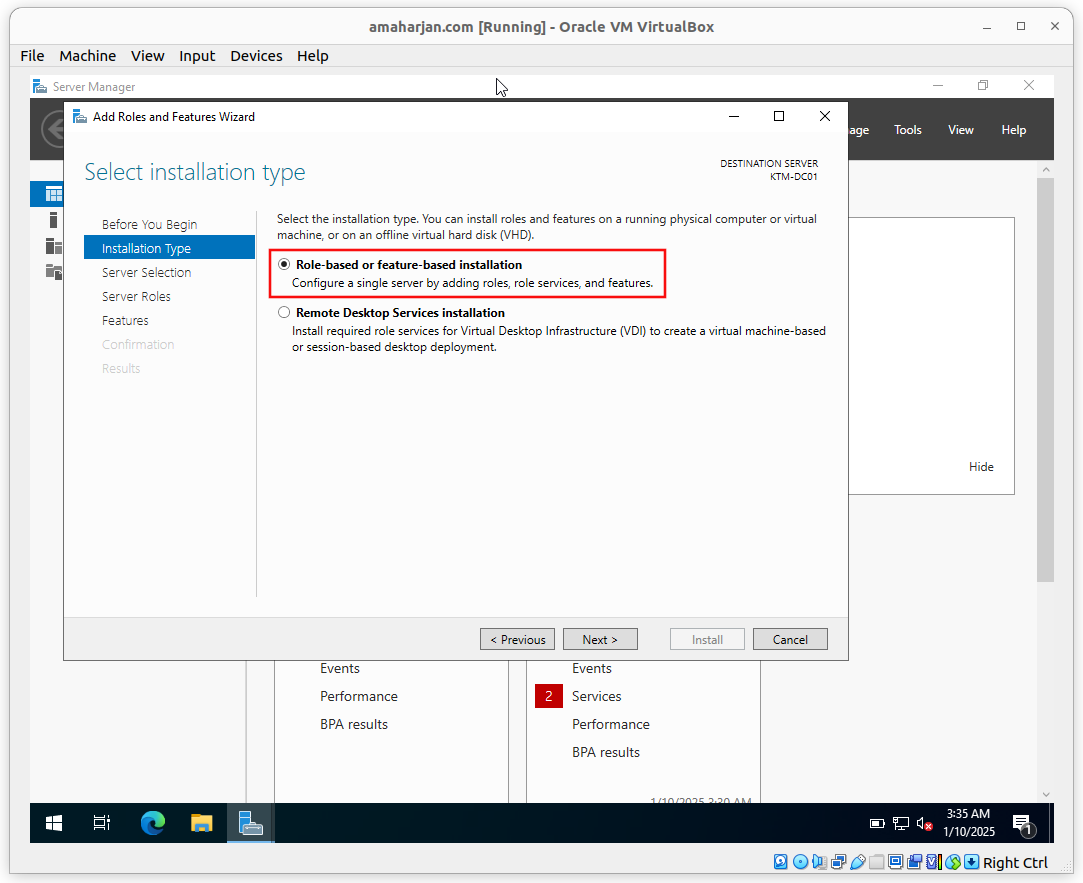
Select Role-based or feature-based installation
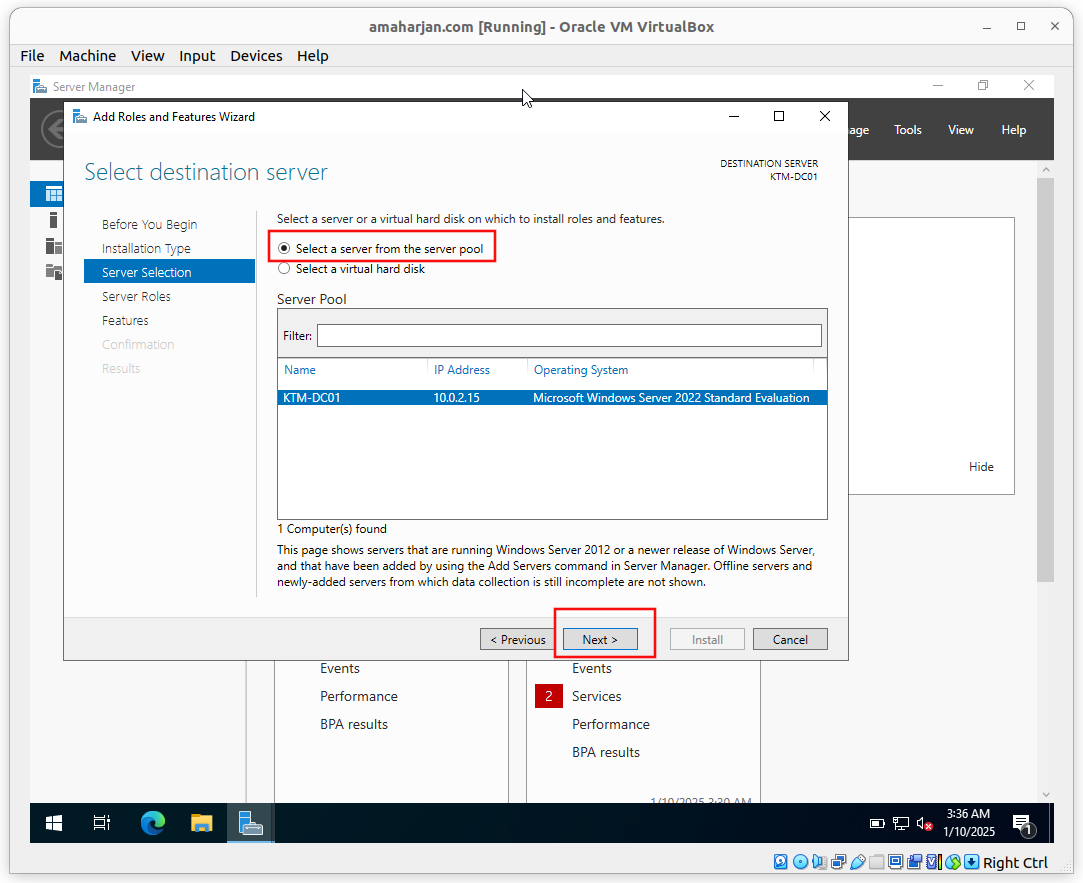
Select a server from the server pool as shown below, and click Next.
Note: I have KTM-DC01. There might be different DC in your case.
Select Active Directory Domain Services and click next
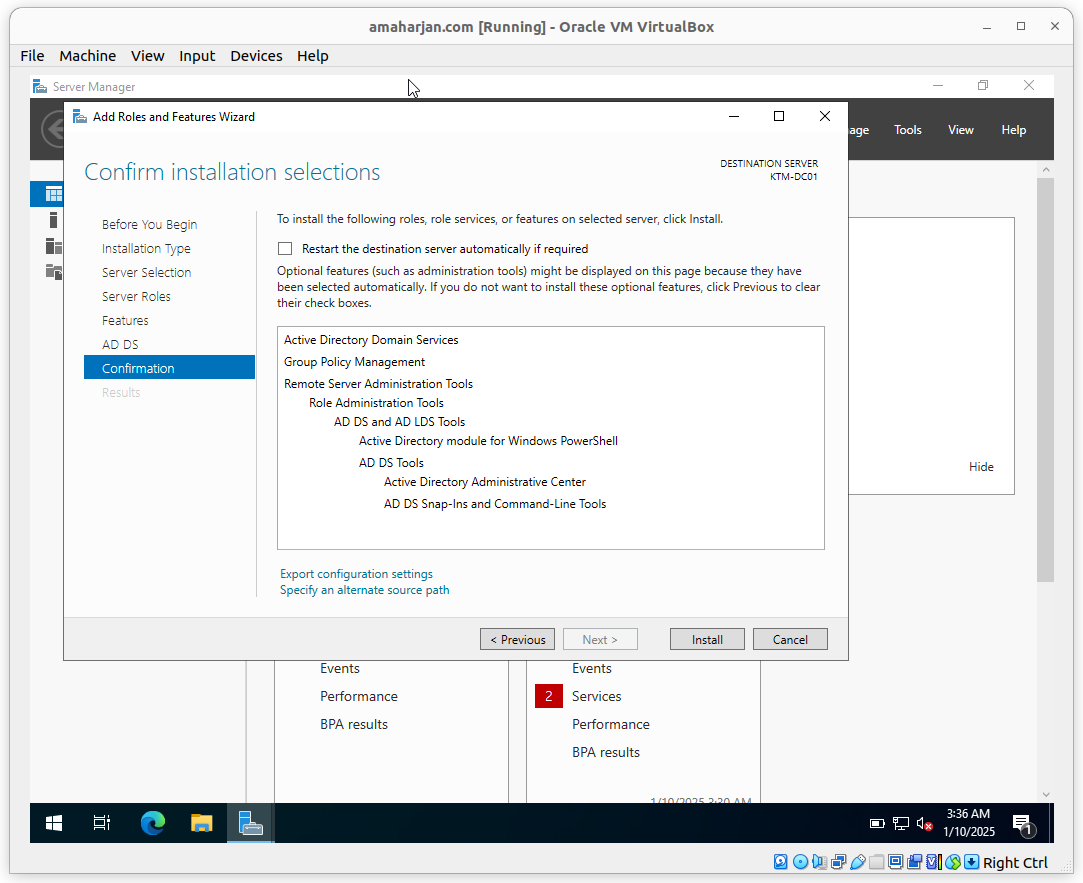
Click Install
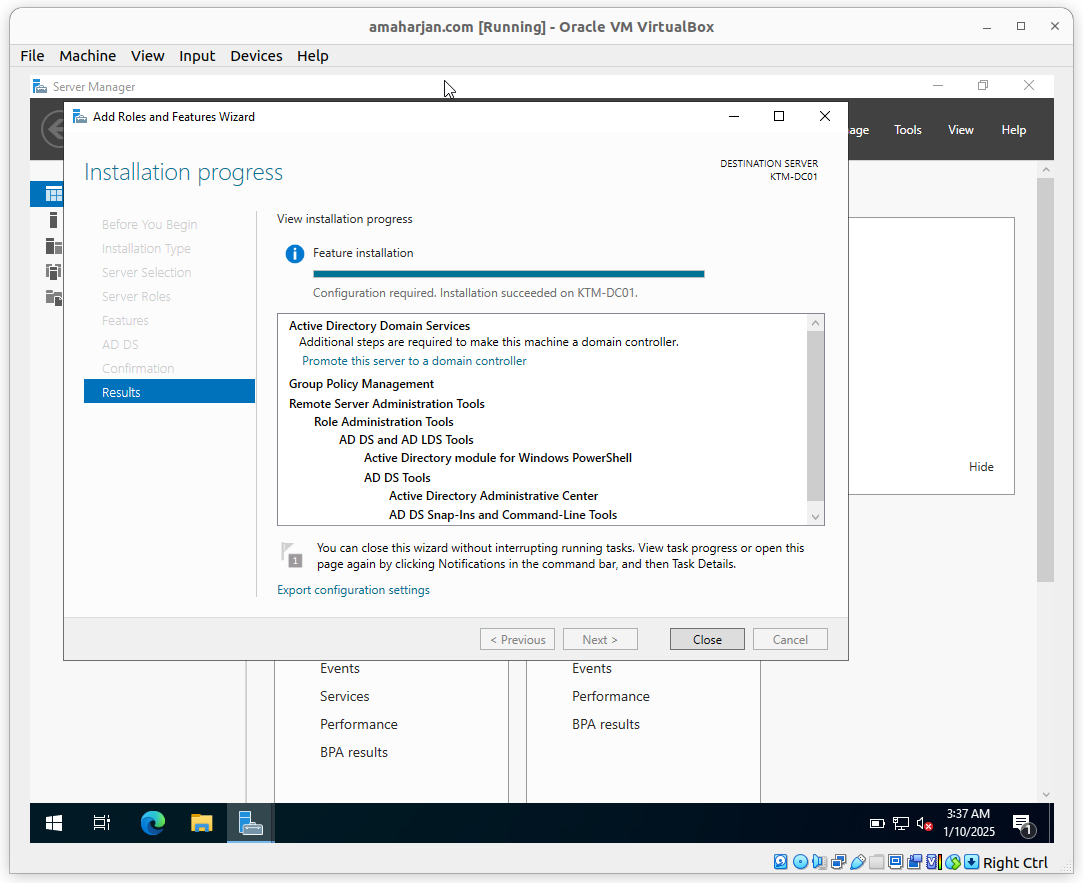
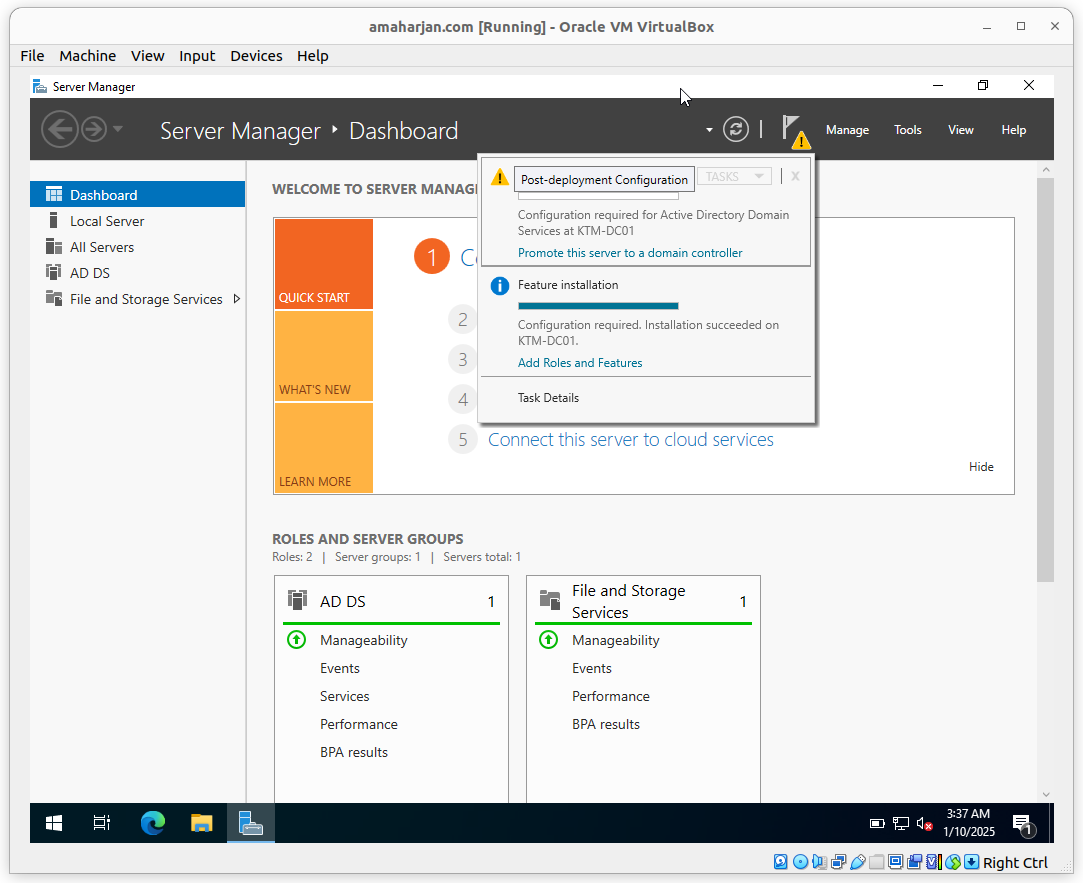
2.1. Post installation task
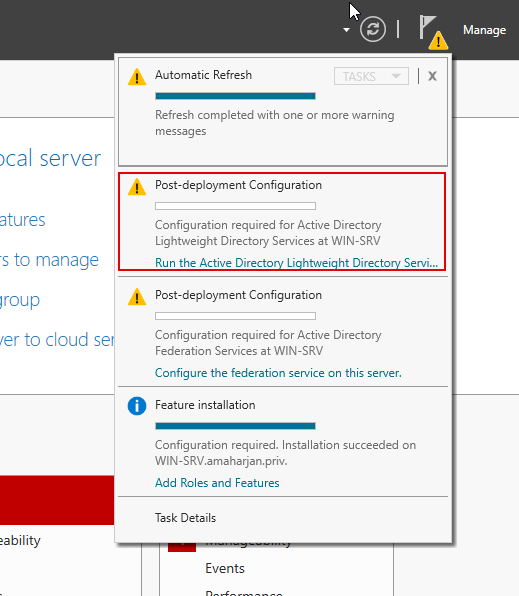
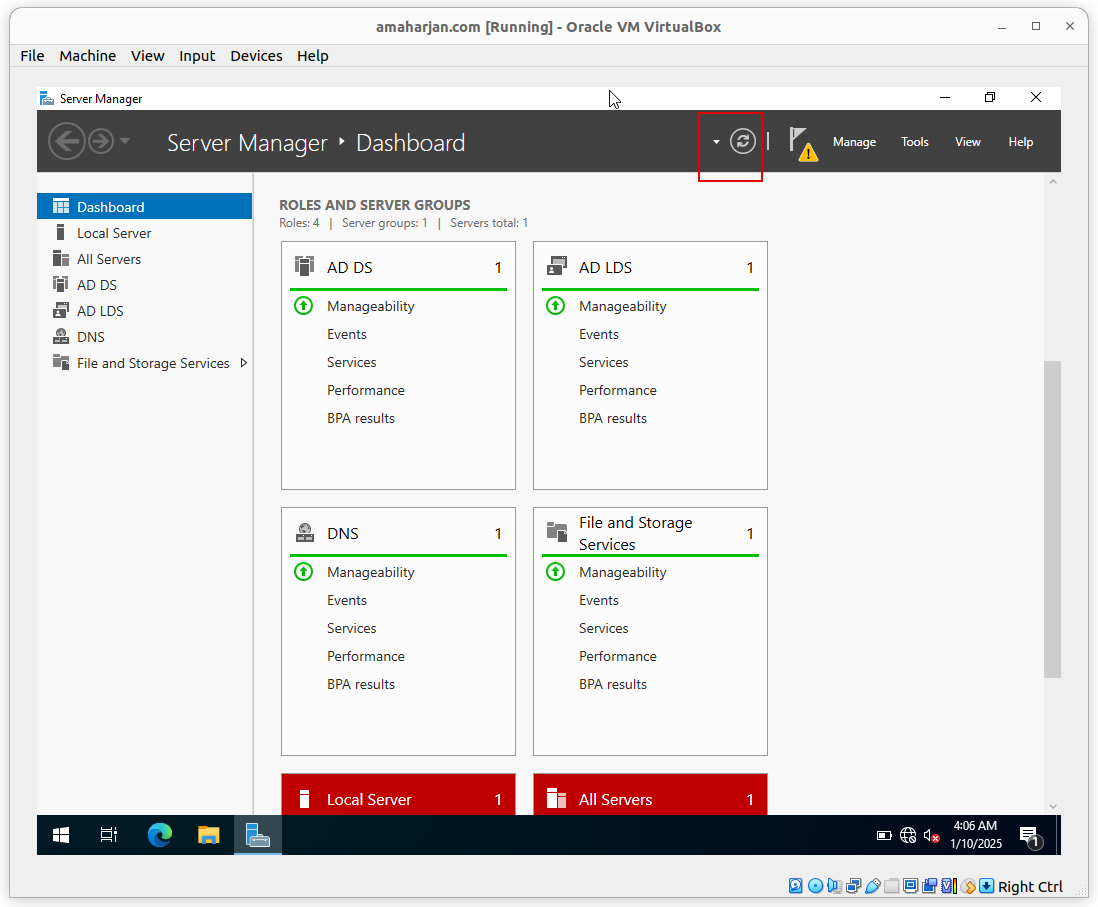
From the right-hand side Flag menu, click on Post-deployment Configuration:
Provide Root domain name

Provide DRSM password

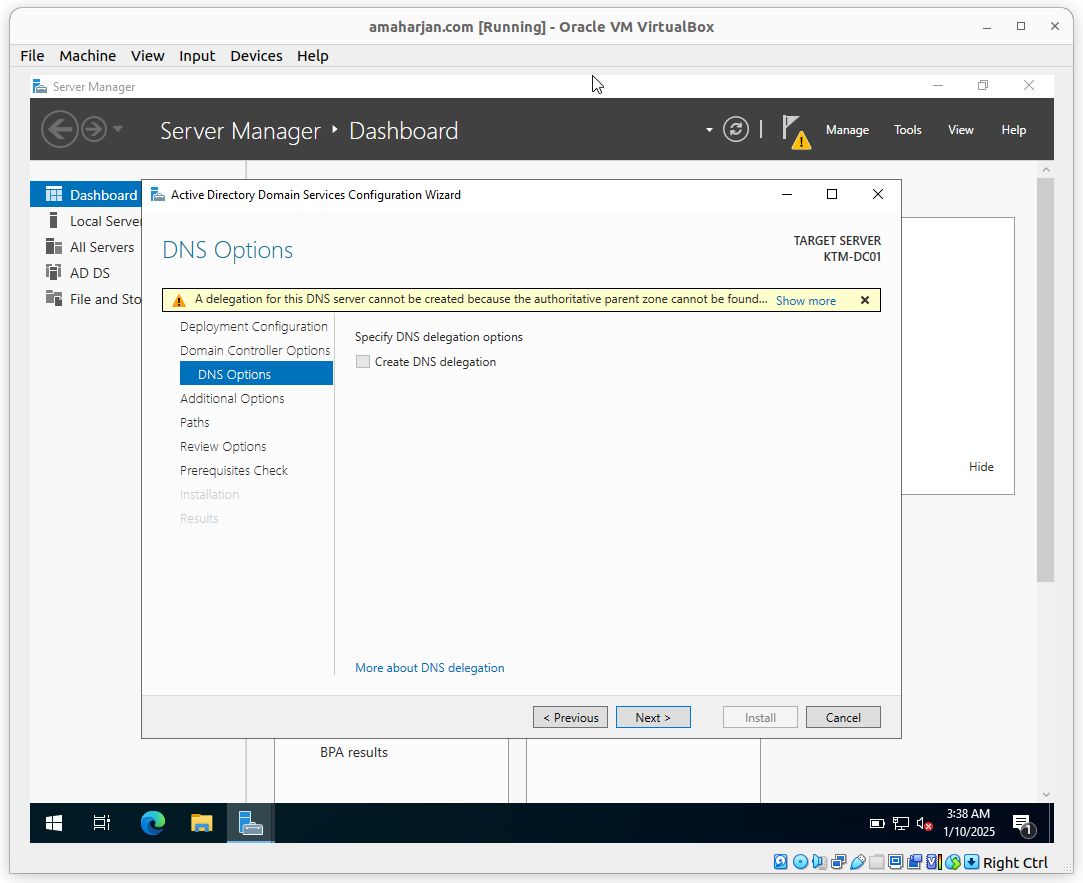
Leave it as default
Provide the NetBIOS domain name

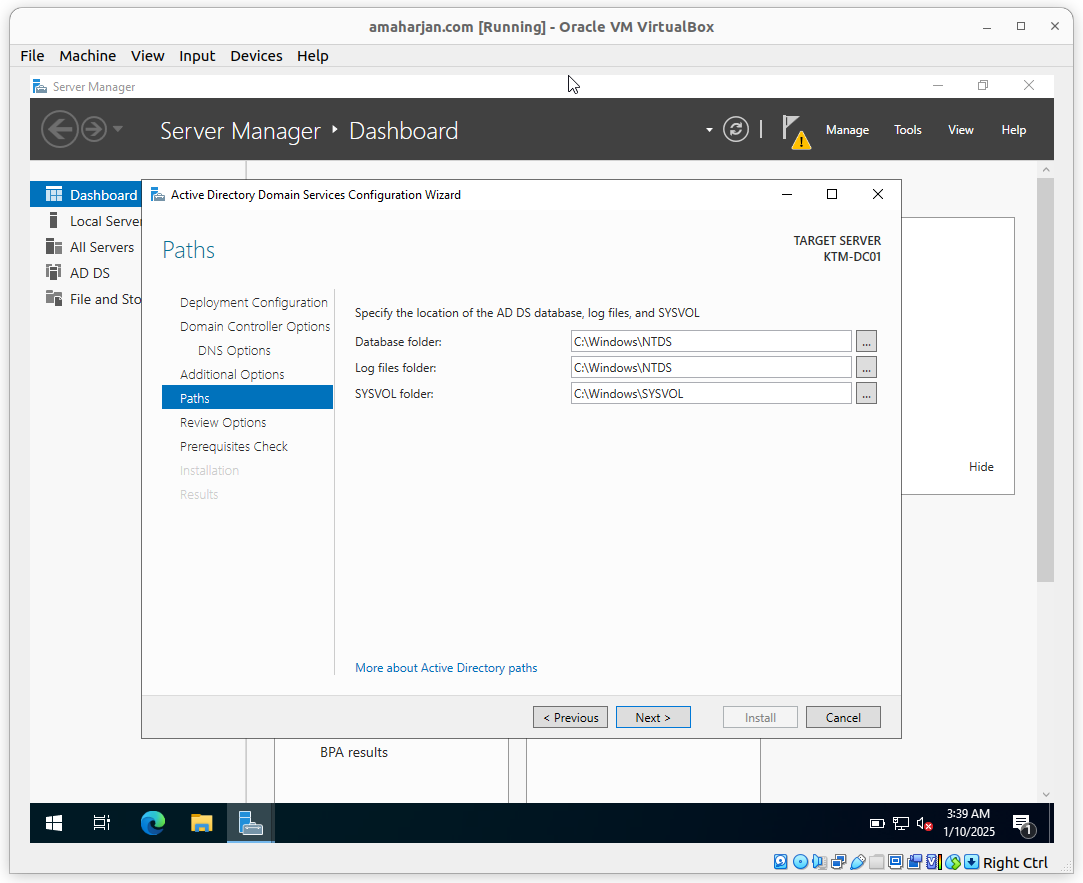
Select default Paths (i.e., C:\Windows)
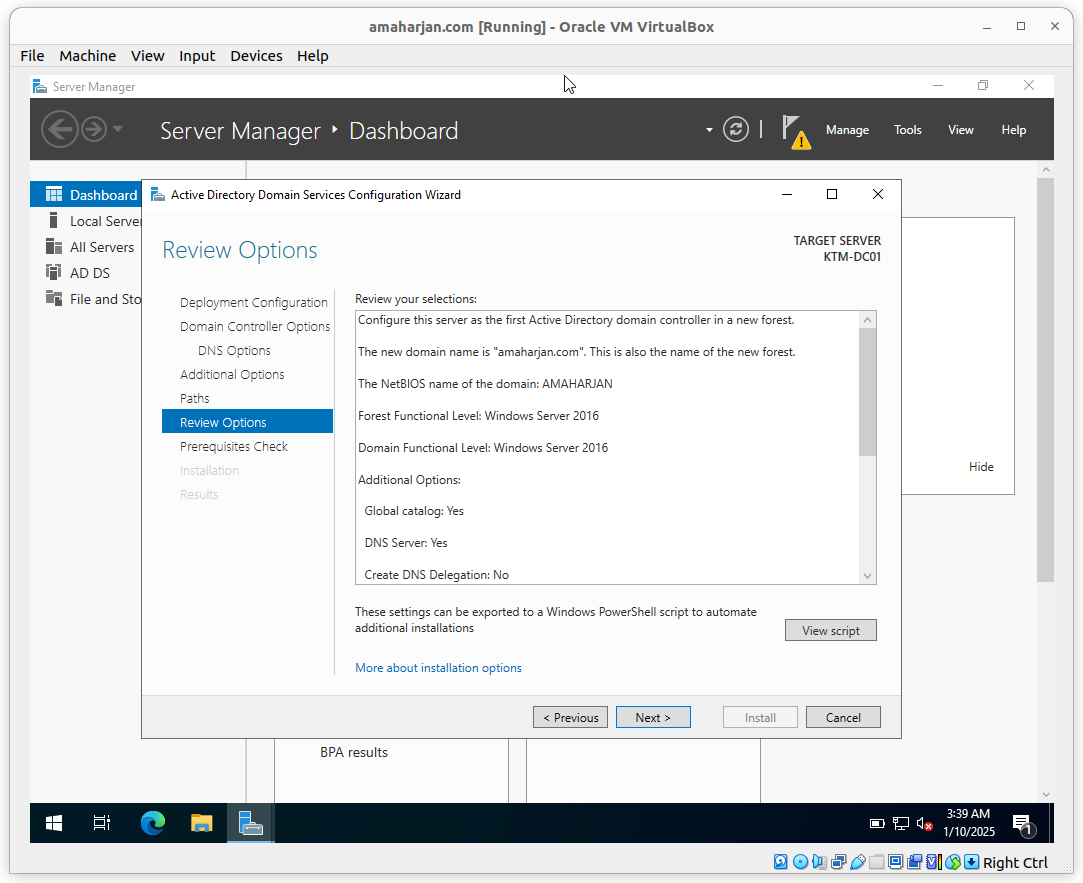
Review and click Next
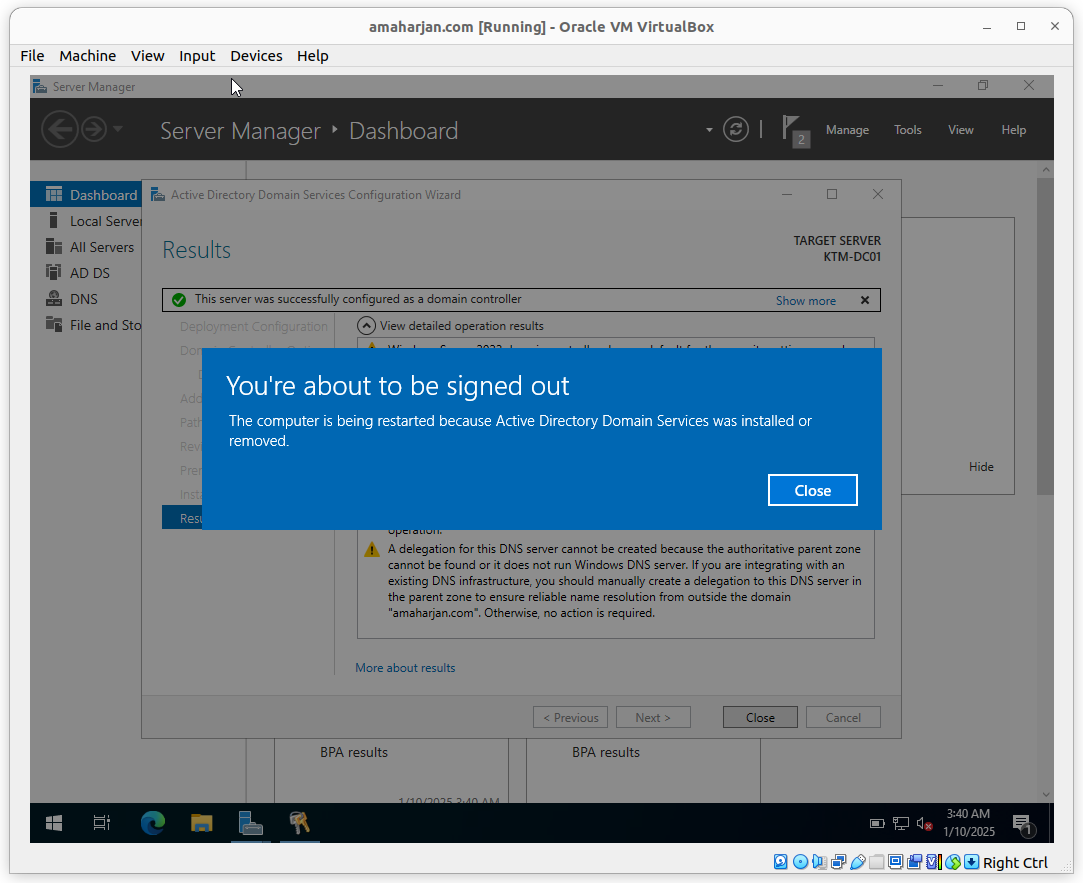
Click Install
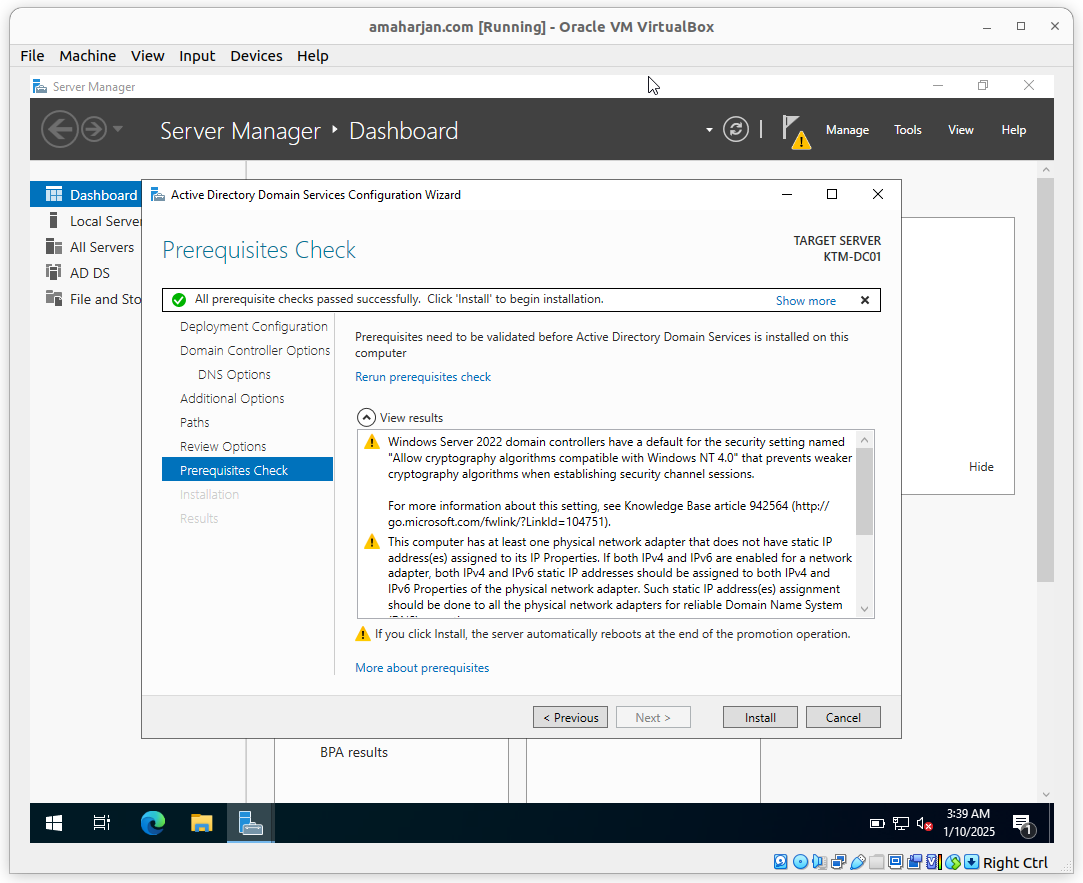
After successfuly ADDS installation, estart the server
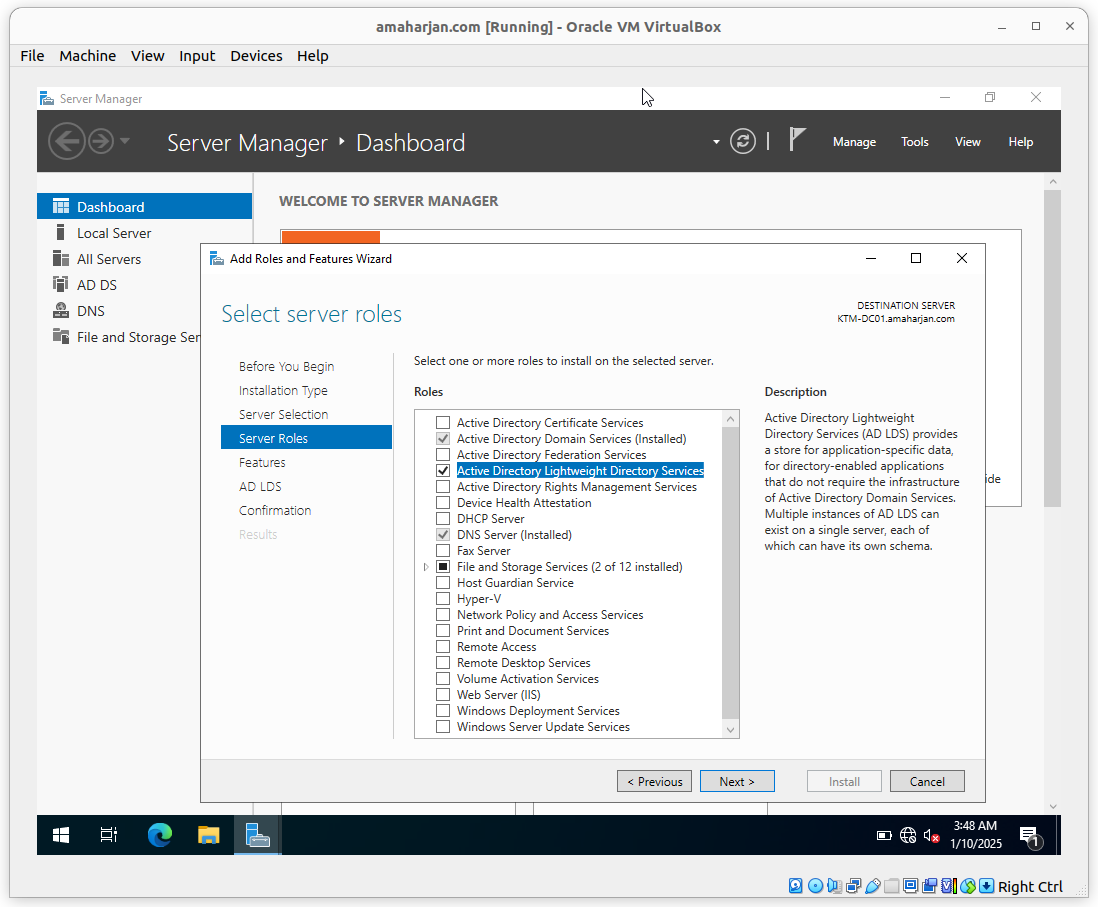
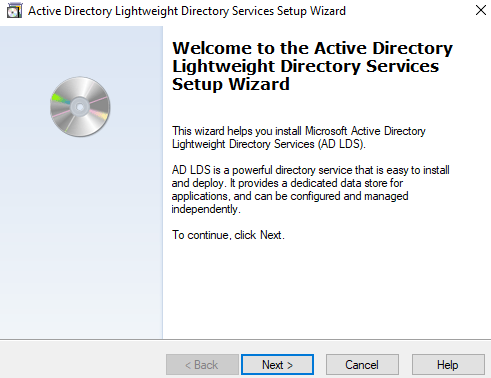
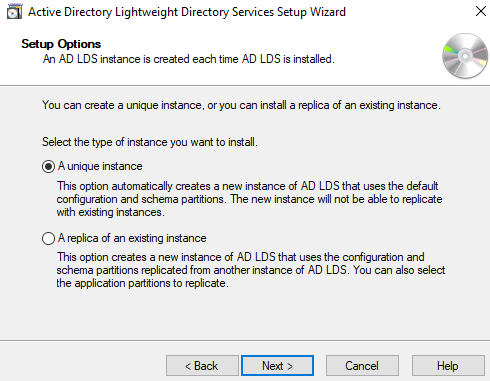
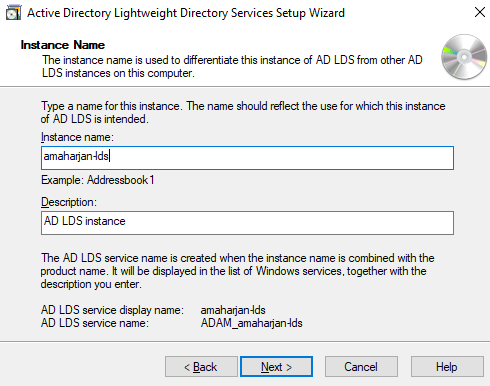
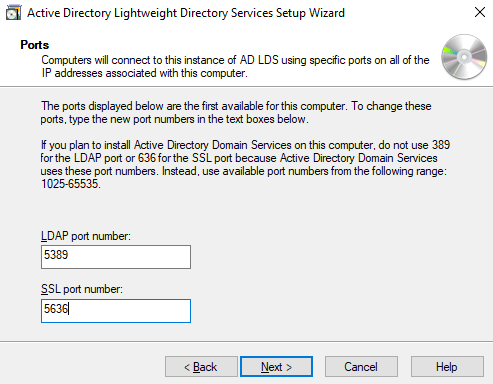
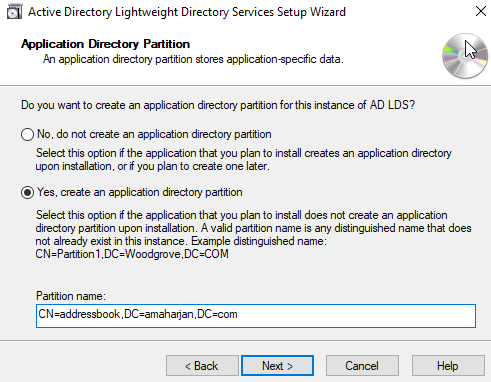
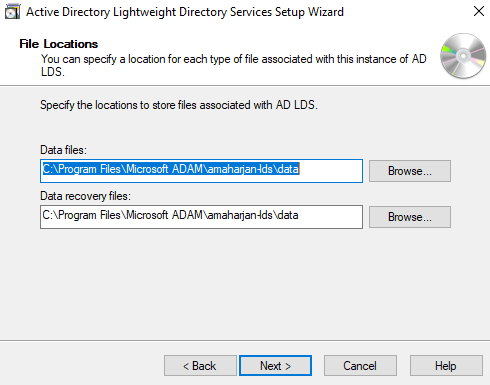
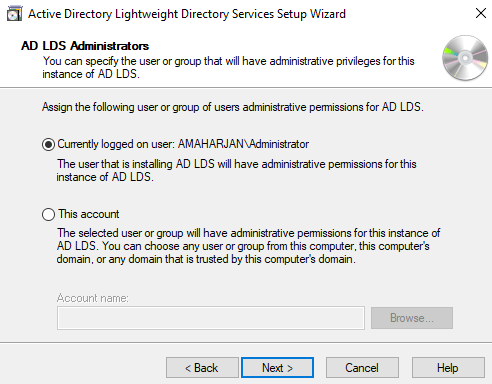
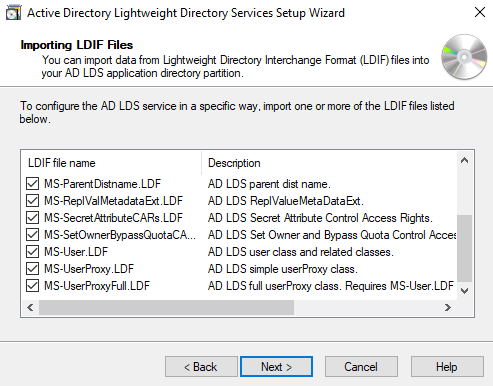
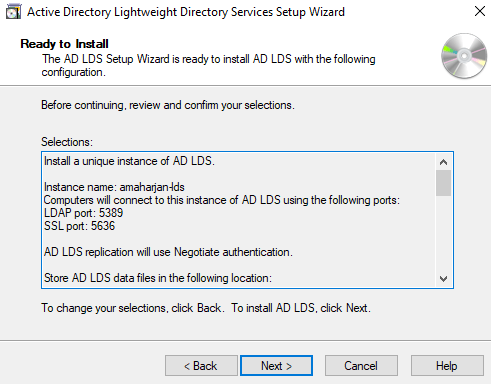
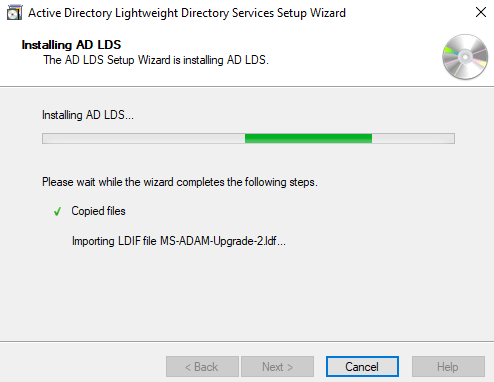
3. Active Directory LightWeight Directory Services
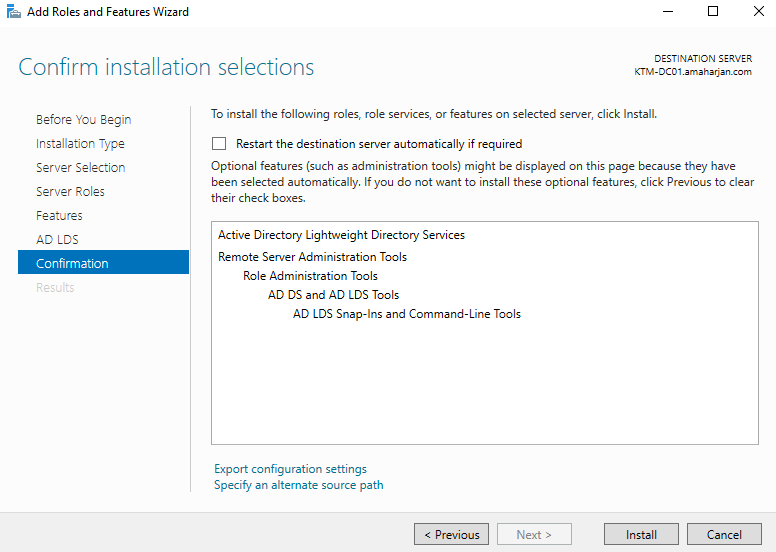
Add role called Active Directory LightWeight Directory Services:

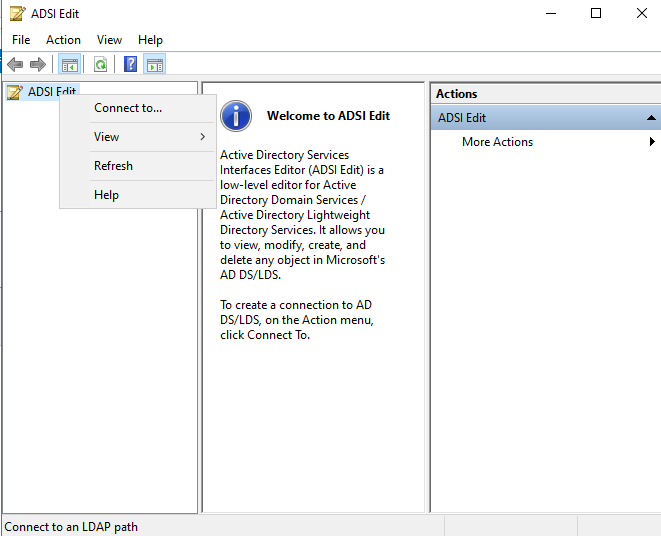
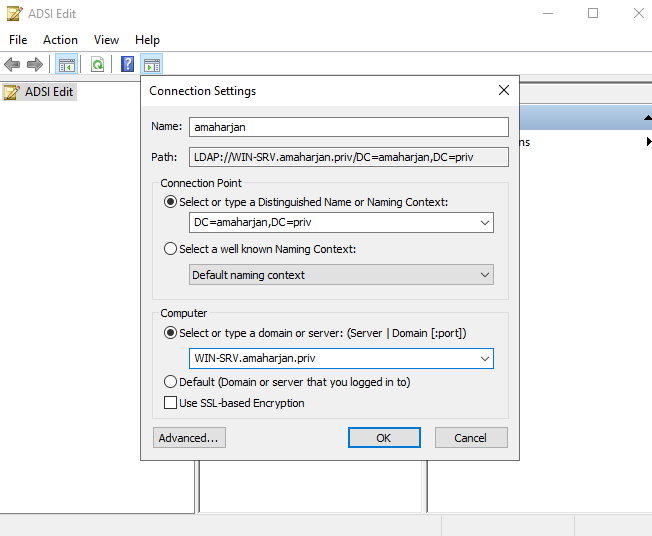
3.2. Edit ADSI
- Goto Tools
- Click ADSI Edit

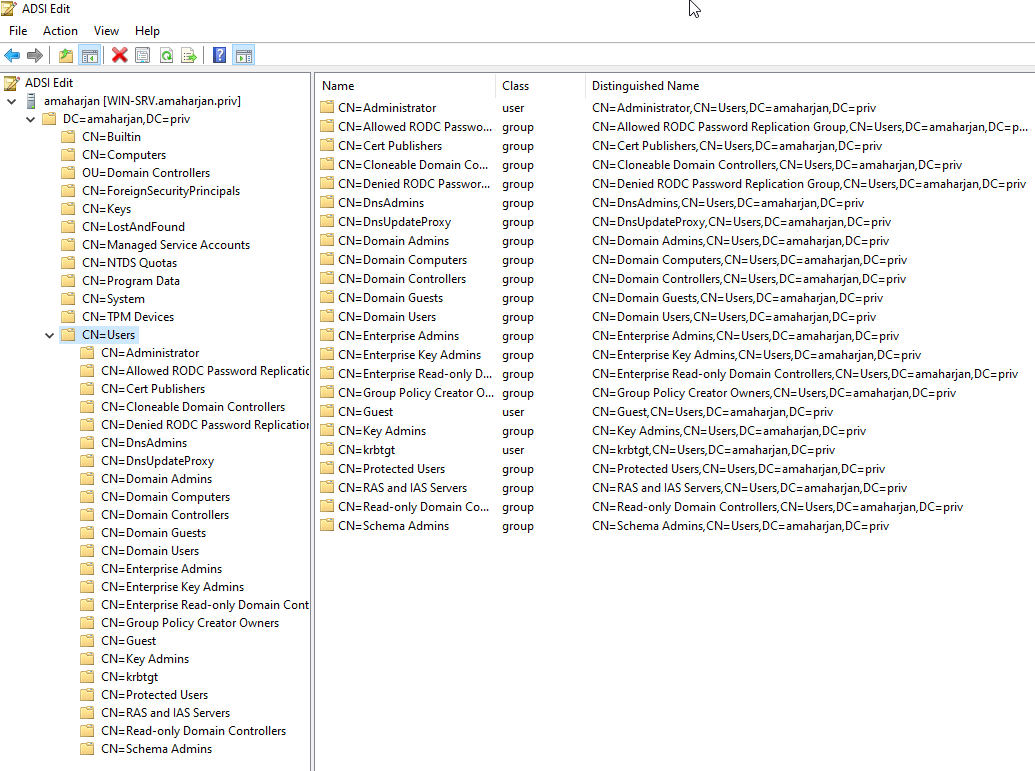
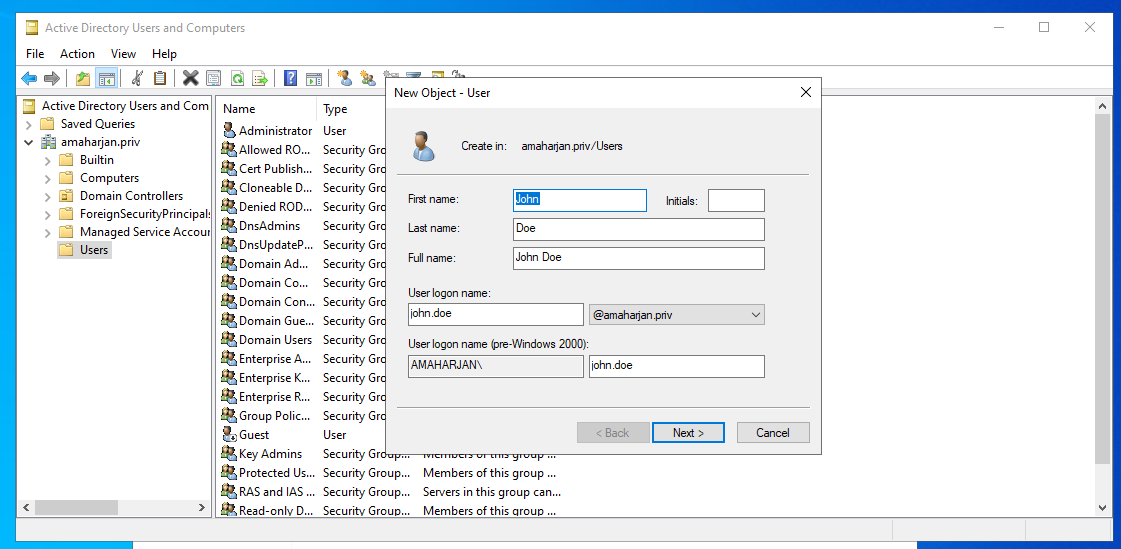
Now, try to add user from Active Directory Users and Groups:
Now, if you refresh ADSI Edit page, the newly created user will show up.
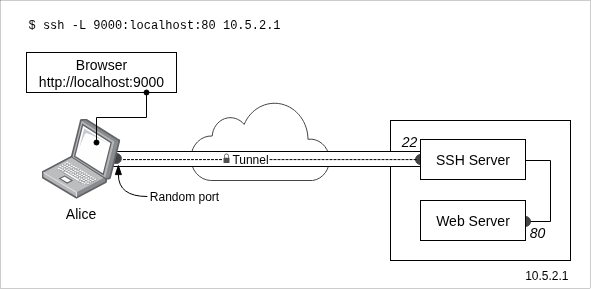
4. Windows ADLDS connection from external network
In this section I try to connect Windows ADLDS from external system.
Logon to the Ubuntu Server.
$ sudo apt install ldap-utils libldap2-dev4.1. ldapsearch example
LDAP Search syntax:
ldapsearch -x -H ldap://<LDAP_SERVER>:389 \
-D "CN=admin,CN=Users,DC=example,DC=com" \
-b "DC=example,DC=com" "(objectClass=*)" \
-w <USER_PASSWORD>
So, in my context:
- LDAP Server: ldap://192.168.0.178:389
- Bind DN: CN=Administrator,CN=Users,DC=amaharjan,DC=priv
- Base DN: CN=Users,DC=amaharjan,DC=priv
ldapsearch -x -H ldap://192.168.0.201:389 \
-D "CN=Administrator,CN=Users,DC=amaharjan,DC=com" \
-b "DC=amaharjan,DC=com" "(objectClass=*)" \
-w <password-here>
4.2. ldapadd example
Now, let's try to ldapadd to the Windows server's AD from the Ubuntu server:
ldapadd -x -H ldap://192.168.0.178:389 \
-D "CN=Administrator,CN=Users,DC=amaharjan,DC=priv" \
-w Toor#win -a <<EOF
dn: cn=fnietzsche,cn=Users,dc=amaharjan,dc=priv
objectClass: User
sn: Nietzsche
givenName: Friedrich
cn: fnietzsche
userPassword: Password1

EOF
Keycloak Integration
In this section, I will show you how to integrate Keycloak and Microsoft Active Directory.
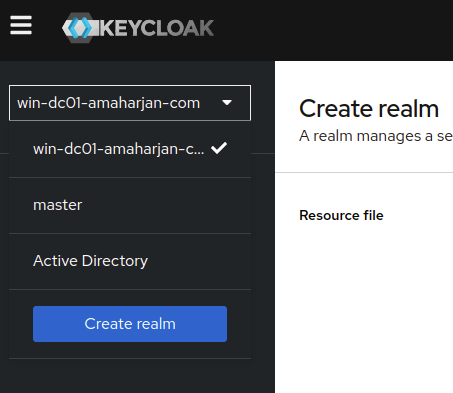
Keycloak Realm
First you need a realm
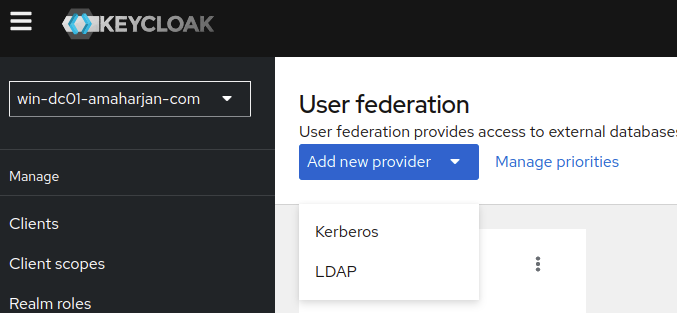
Create User Federation
User federation provides access to external databases and directories, such as LDAP and Active Directory.
Add new LDAP provider
As mentioned below:
- Connection URL: ldap://192.168.0.201:389
- Bind type: Simple
- Bind DN: CN=Administrator,CN=Users,DC=amaharjan,DC=com
- Bind credentials:
- Edit mode: WRITABLE
- Users DN: OU=IT System Administrator,OU=IT Support,DC=amaharjan,DC=com
- Username LDAP attribute: sAMAccountName
- RDN LDAP attribute: cn
- UUID LDAP attribute: objectGUID
- User object classes: inetOrgPerson
- Synchronization settings
- Batch size: 1000
- Periodic full sync: On
- Full sync period: 604800
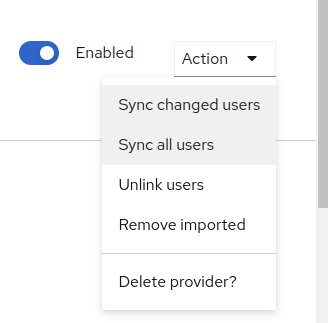
Save it, and from the right hand side menu, Enable it and run Sync all users
Users
Now, you'll be able to see users:
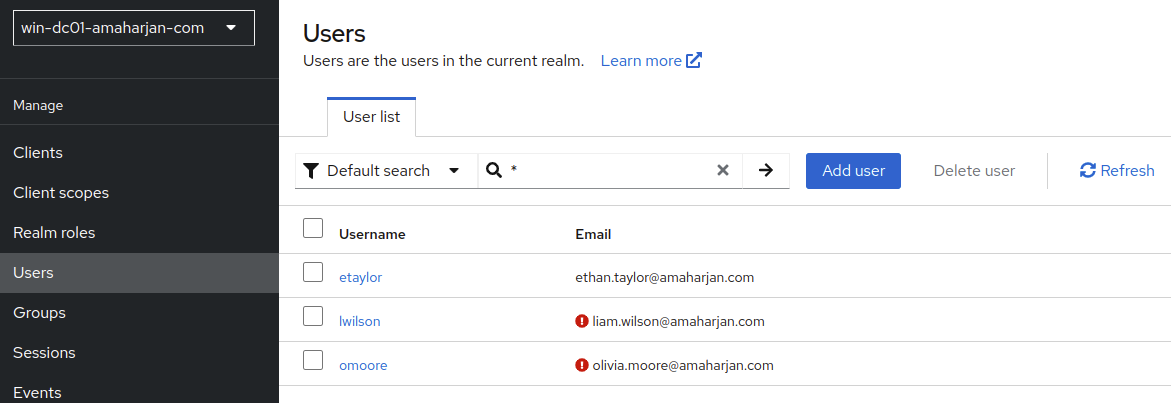
But you'll also see some users are disabled, let's enable it.
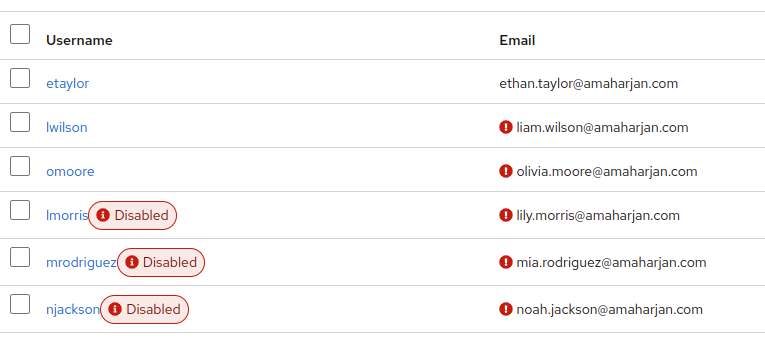
Click on the user, on the right side, click Enable. And Save it.
Clients
Now, go to the Clients section:
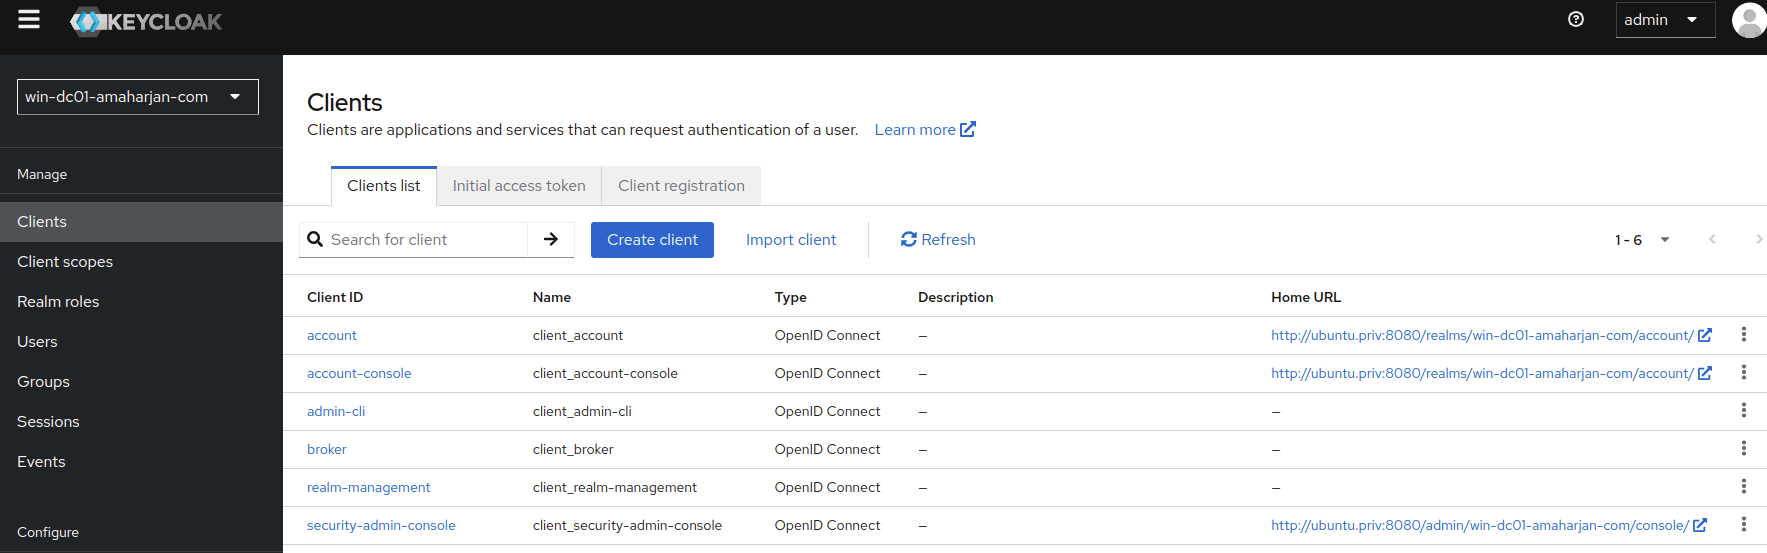
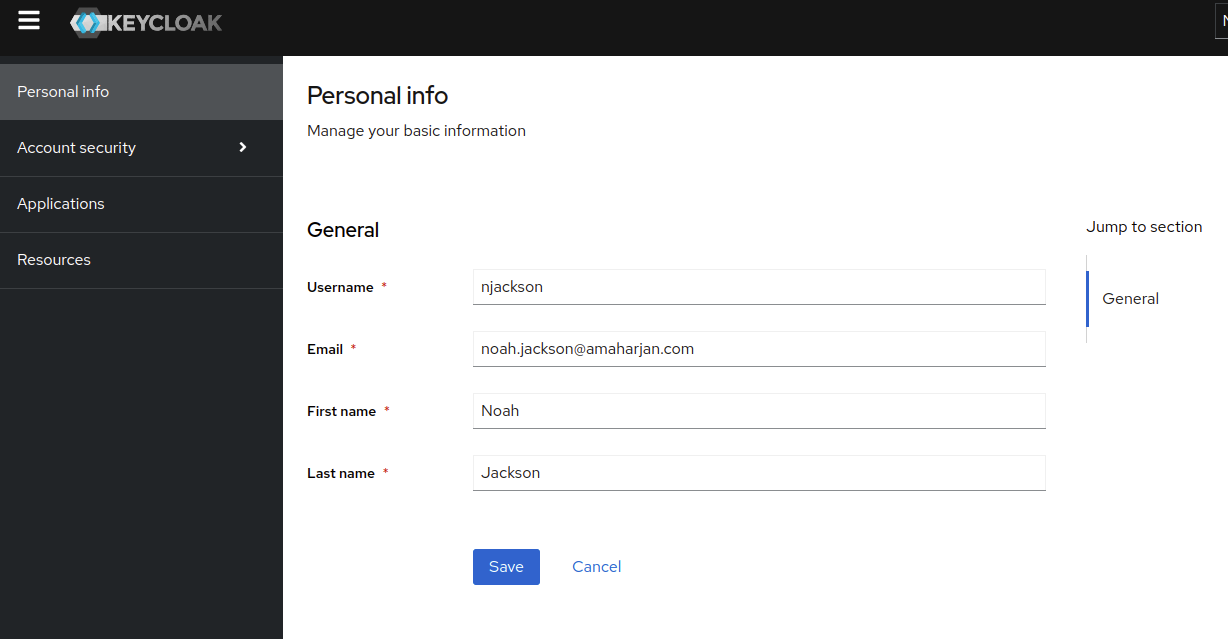
And go to the account (http://ubuntu.priv:8080/realms/win-dc01-amaharjan-com/account/). Open this link in incognito for testing.
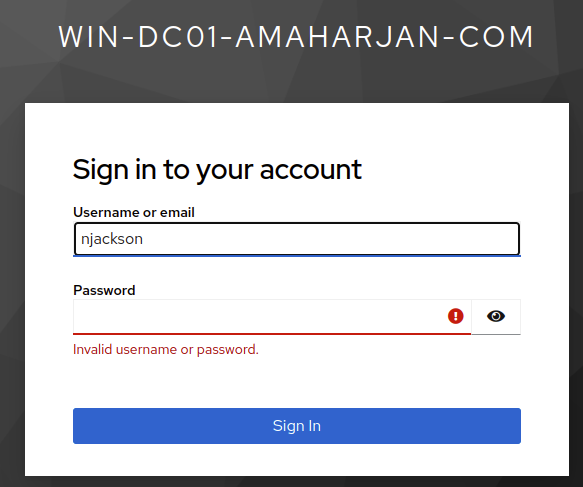
Now, when I try to login with user (in my case njackson and password Secret), I will not be able to.
Therefore, let's go to ADUC and reset the user's password:
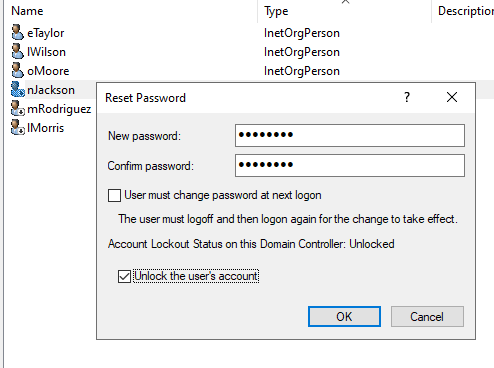
And for simplicity, let's update this user's password to Password never expires (from ADUC). And check Unlock the user's account.
Now, you'll be finally able to login.