Table of Contents
- Prerequisite
- Step 1. Create sudoer
- Step 2. Edit ifcfg-enp0s3
- Step 3. Setup JAVA
- Step 4. Setup Apache Tomcat 9.0
- Step 5. Setup MySQL 8.0
- Step 6. Setup identityiq.war
- Step 7. create_identityiq_tables-8.4.mysql
- Step 8. Firewall rules
- Step 9. Start the Tomcat
- Conclusion
Imagine making identity and access management simple and secure with SailPoint. In this tutorial, I am going through SailPoint IIQ installation guide (v8.4) on Red Hat Enterprise Linux 8.8.
Simply put, SailPoint is an enterprise identity and access management software [Iden00].
Assuming that you've downloaded identityiq-8.4.zip from https://community.sailpoint.com/. And RHEL 8.8. is already installed.
Prerequisite
- Good knowledge on Linux
- identityiq-8.4.zip
- RHEL 8.8 installed
- Apache Tomcat 9.0
- MySQL 8.0
Step 1. Create a user, and make it sudoer
$ sudo adduser -m YOUR_USERNAME
$ sudo passwd YOUR_USERNAME
$ sudo usermod -aG wheel YOUR_USERNAME
Switch the session:
$ su - YOUR_USERNAMEStep 2. If there is no internet
$ sudo vi /etc/sysconfig/network-scripts/ifcfg-enp0s3

DNS1=8.8.8.8
ONBOOT=yes
This makes sure that the enp0s3 network interface utilizes Google's public DNS servers (8.8.8.8) for DNS resolution and ensures that the interface is automatically brought up during system boot.
Next,
$ sudo sed -i '$a net.ipv4.ip_forward=1' /etc/sysctl.confnet.ipv4.ip_forward=1 is appended to the /etc/sysctl.conf file; enabling IPv4 forwarding on the system.
Restart the server.
Update and upgrade the RHEL:
$ sudo dnf -y update
$ sudo dnf -y upgrade
Step 3. Setup JAVA
$ sudo dnf install -y java-11-openjdk
$ java --version
Output
openjdk 11.0.23 2024-04-16 LTS
OpenJDK Runtime Environment (Red_Hat-11.0.23.0.9-2) (build 11.0.23+9-LTS)
OpenJDK 64-Bit Server VM (Red_Hat-11.0.23.0.9-2) (build 11.0.23+9-LTS, mixed mode, sharing)
Set up JAVA_HOME environment variable:
$ export JAVA_HOME=/usr/lib/jvm/jre-11-openjdk-11.0.25.0.9-2.el8.x86_64/Step 4. Setup Apache Tomcat 9.0
$ pwd/home/tux$ mkdir opt
$ cd opt
$ wget https://dlcdn.apache.org/tomcat/tomcat-9/v9.0.89/bin/apache-tomcat-9.0.89.tar.gz
$ tar -xvf apache-tomcat-9.0.89.tar.gzStep 5. Setup MySQL 8.0
$ sudo vi /etc/yum.repos.d/mysql.repoPaste the following:
[mysql80-community]
name=MySQL 8.0 Community Server
baseurl=https://repo.mysql.com/yum/mysql-8.0-community/el/8/$basearch/
enabled=1
gpgcheck=1
gpgkey=https://repo.mysql.com/RPM-GPG-KEY-mysql
$ sudo yum install mysql-server
$ sudo systemctl start mysqld
$ sudo mysql_secure_installation
$ sudo systemctl enable mysqld
$ sudo systemctl status mysqldCheck the version:
$ mysql -u root -p

mysql> SELECT VERSION();
(Optional) allow remote connection to MySQL:
mysql>  CREATE USER 'YOUR_USERNAME'@'Remote_machine_IP' IDENTIFIED BY 'passphrase';
mysql>  GRANT CREATE, ALTER, DROP, INSERT, UPDATE, DELETE, SELECT, REFERENCES, RELOAD on *.* TO 'YOUR_USERNAME'@'Remote_machine_IP' WITH GRANT OPTION;
mysql> FLUSH PRIVILEGES;
Step 6. Setup identityiq.war
First, start the Apache Tomcat through startup.sh:
$ cd /home/tux/opt/apache-tomcat/bin
$ ./startup.sh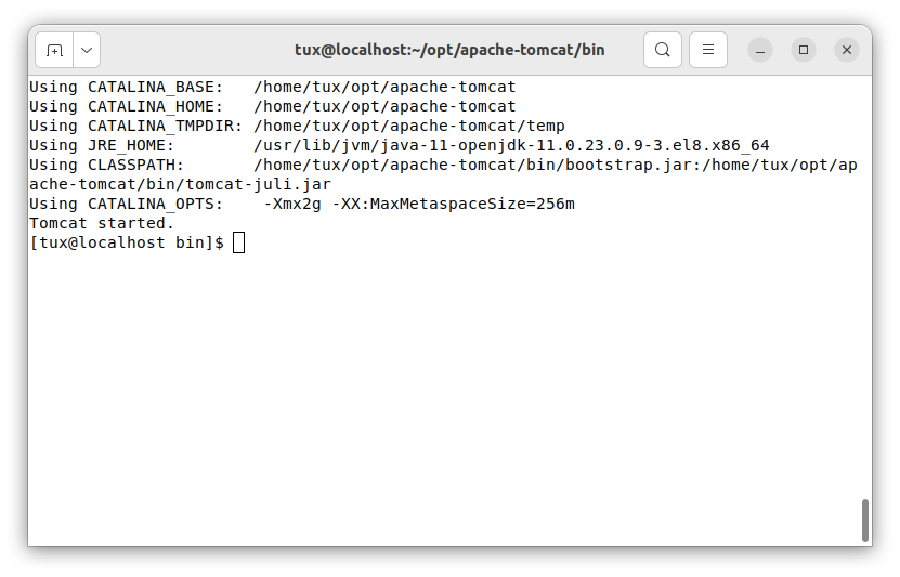
Figure 1: Running startup.sh
Now, when you extract identityiq-8.4.zip, you will find identityiq.war. Copy this war file into home/tux/opt/apache-tomcat/webapps:
$ cp identityiq.war /home/tux/opt/apache-tomcat/webapps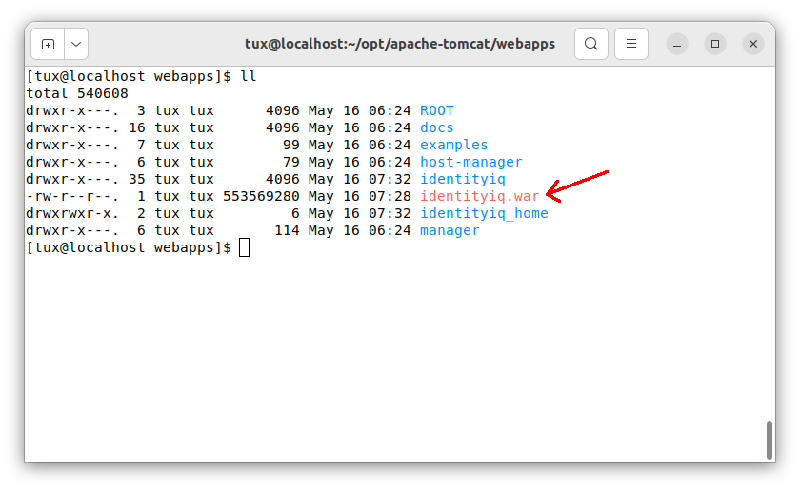
Figure 2: Locating identity.war file
Step 7. create_identityiq_tables-8.4.mysql
Before deploying IIQ, we have to make sure that create_identityiq_tables-8.4.mysql is executed properply.
Go to identityiq/WEB-INF/database:
$ pwd
/home/tux/opt/apache-tomcat/webapps/identityiq/WEB-INF/database
$ mysql -u root -pmysql> source create_identityiq_tables-8.4.mysqlAs soon as it is completed, update iiq.properties if your database setting is different than this tutorial:
$ cd /home/tux/opt/apache-tomcat/webapps/identityiq/WEB-INF/classes
$ cat iiq.properties
Finally, import init.xml, which is located inside WEB-INF/config. Go inside WEB-INF/bin:
$ pwd
/home/tux/opt/apache-tomcat/webapps/identityiq/WEB-INF/bin
$ chmod +x iiq$ ./iiq console
> import init.xml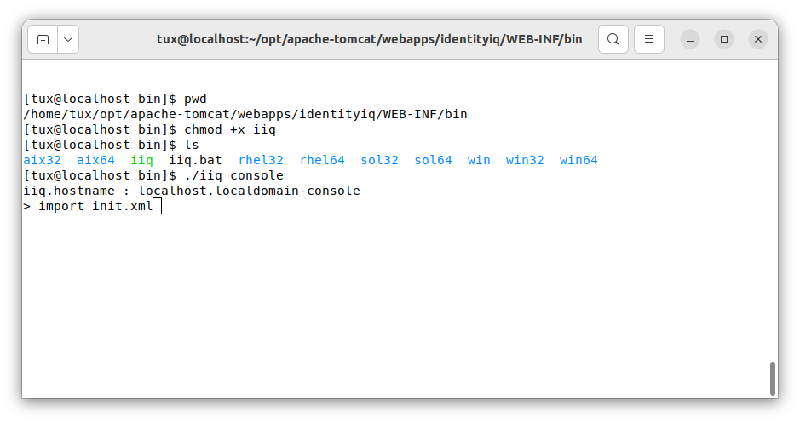
Figure 3: Importing init.xml
Let's stop the tomcat for the moment.
$ cd /home/tux/opt/apache-tomcat/bin
$ ./shutdown.sh
Step 8. Firewall rules
Add the firewall rules so that you will be able to access from your network:
$ sudo firewall-cmd --permanent --add-port=8080/tcp
$ sudo firewall-cmd --permanent --add-port=3306/tcp
$ sudo firewall-cmd --reload
Step 9. Start the Tomcat
Start the Apache Tomcat:
$ cd /home/tux/opt/apache-tomcat/bin
$ ./startup.sh
Finally, browse 192.168.1.2:8080/identityiq with default username spadmin and password admin.
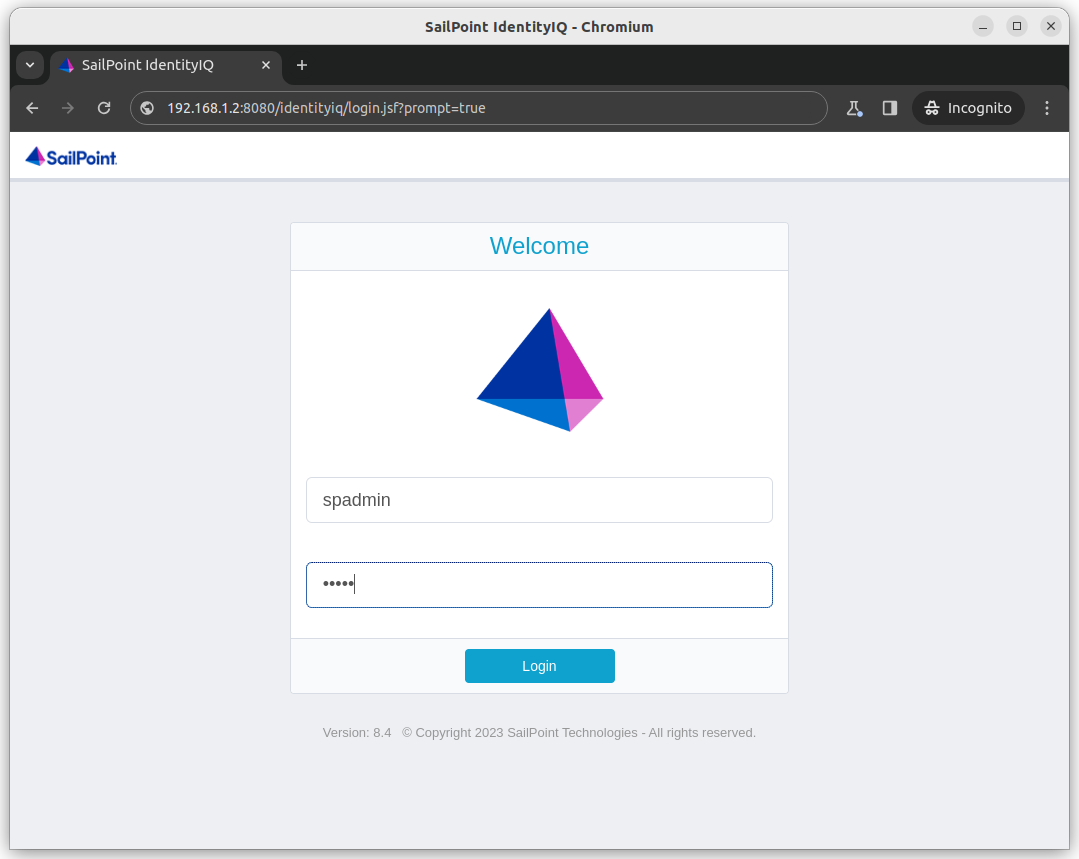
Figure 4: Sailpoint IIQ login page
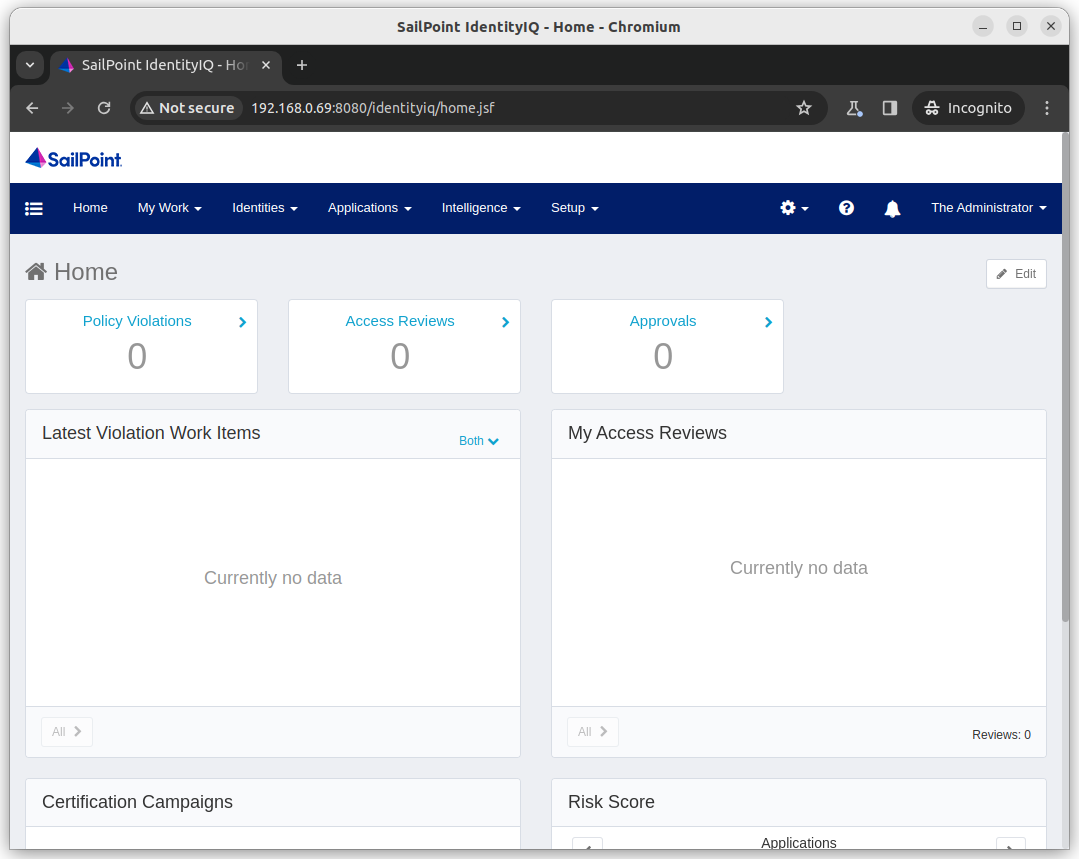
Figure 5: Sailpoint IIQ successful loged in
Conclusion
Congratulations! You've successfully installed SailPoint IdentityIQ (IIQ) version 8.4 on Red Hat Enterprise Linux 8.8. Here's a quick recap:
- We created Linux sudo user
- Set up network configurations
- Updated and upgraded RHEL 8.8
- Installed Java 11, Apache Tomcat 9.0, and MySQL 8.0
- Deployed the identityiq.war file in Tomcat
- Configured database and firewall settings
You're now ready to manage identities and access with SailPoint IIQ. Enjoy!
Articles recommended by the author
References
[Iden00] “IdentityIQ 8.4 Overview.” https://documentation.sailpoint.com/identityiq/help/iiqlandingpage.html (accessed May 16, 2024).
[8.4i23] “8.4 IdentityIQ Installation Guide,” Sep. 11, 2023. https://community.sailpoint.com/t5/IdentityIQ-Product-Guides/8-4-IdentityIQ-Installation-Guide/ta-p/240678 (accessed May 16, 2024).