- Level: Beginner
- Setup type: Headless
The following article shows how to Setup Ubuntu Server on Raspberry Pi. I will be installing Ubuntu Server 22.10 [1] and 64-bit Raspberry Pi 4 Model B.
The first step is to use a card reader to mount your SD card.
Use Raspberry Pi imager ↗ or
YUMI - Multiboot USB Creator ↗ to install Ubuntu Server 22.10 (64-bit) as shown in figure 1.
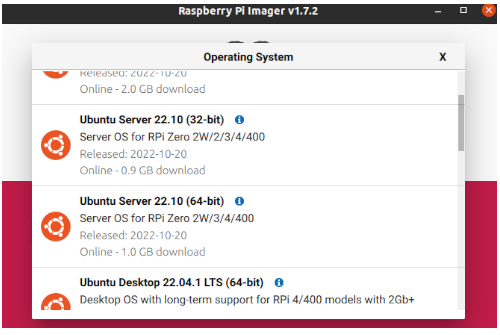
Figure 1. Raspberry Pi imager
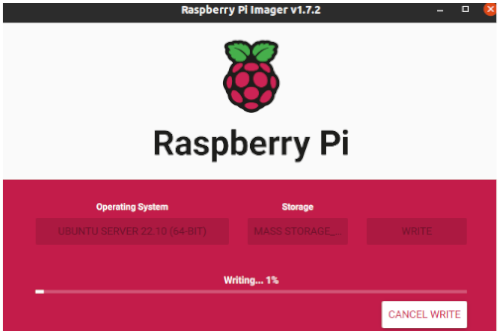
Figure 2. Installation progress
Note: You are not using a monitor or keyboard in this tutorial, hence known as a headless setup [3].
Once the installation process is completed, you have to set up WiFi.
Edit network-config file from SYSTEM-BOOT location as mentioned-below:
#
#
network:
  version: 2

  ethernets:
    eth0:
      dhcp4: true
      optional: true

  wifis:
    wlan0:
      dhcp4: true
      optional: true
      access-points:
        "your-wifi-ssid":
          password: "your-wifi-password"
#
#
Now, eject your card reader safely. And power up your the Raspberry Pi.
And confirm that your Pi has been connected to the WiFi. Check your router WLAN connected devices list; there should be a device name ubuntu.
Now, connect your Pi via SSH. By default, the username is ubuntu, and the password is ubuntu too.
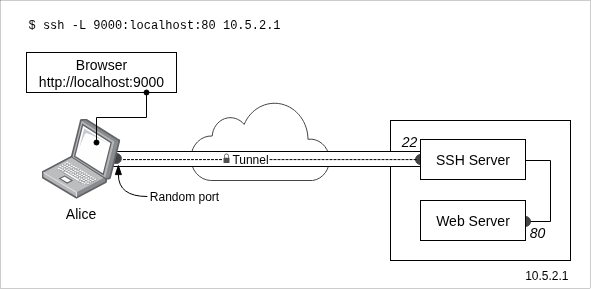
$ ssh ubuntu@192.168.2.127* change your IP accordingly.
What is SSH?
"The Secure Shell (SSH) Protocol is a protocol for secure remote login and other secure network services over an insecure network [4]".
What is SSH's purpose in this context?
Because we are setting up the server as headless (as we don't have monitor and keyboard), we need to connect to the server somehow; hence we use SSH.
After successfully logging in, it will ask you to change the password.
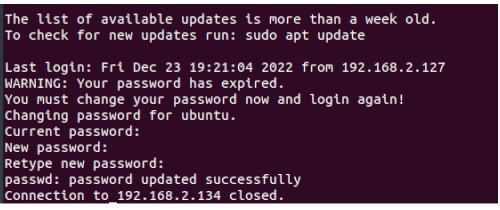
figure 3. Password changed successfully.
Once again, log in
$ ssh ubuntu@pi-ip-addressFinally, update and upgrade the Pi with the following commands:
ubuntu@ubuntu:~$ sudo apt update -y
ubuntu@ubuntu:~$ sudo apt upgrade -y
That is all you need to do, quite simple right? Happy Pi time 🙂
This post is part of the series called A Linux Crash Course for Absolute Beginners.
References
[1] "Get Ubuntu Server | Download | Ubuntu," ubuntu.com. https://ubuntu.com/download/server (accessed Dec. 23, 2022)
[2] "Raspberry Pi 4 Model B specifications – Raspberry Pi," raspberrypi.com. https://www.raspberrypi.com/products/raspberry-pi-4-model-b/specifications/ (accessed Dec. 23, 2022)
[3] "Headless Raspberry Pi Setup - Pi My Life Up," pimylifeup.com. https://pimylifeup.com/headless-raspberry-pi-setup/ (accessed Dec. 23, 2022)
[4] T. Ylonen and C. Lonvick, “RFC 4251: The Secure Shell (SSH) Protocol Architecture.” https://www.rfc-editor.org/rfc/rfc4251 (accessed Dec.23, 2024).