In this article, you’ll learn how to install SSH server on Windows Server.
What is OpenSSH?
OpenSSH is probably the most widely used Linux SSH service, basically it is a suite of secure networking software/tools based on the SSH protocol.
Read more: OpenSSH essentials.
First, run Powershell as an admin. Then, install the OpenSSH Server feature:
Add-WindowsCapability -Online -Name OpenSSH.Server~~~~0.0.1.0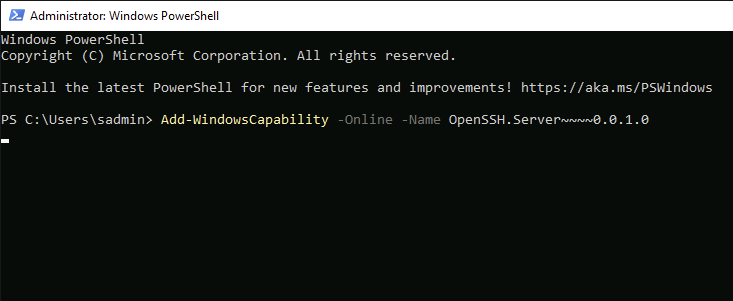
This may take a few minutes to download and install:
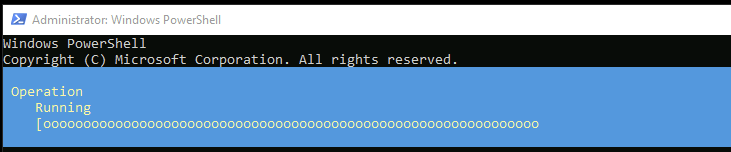
Result

Now, let's start the SSH service:
Start-Service sshdSet SSH to auto-start on reboot:
Set-Service -Name sshd -StartupType 'Automatic'Allow SSH through Windows Firewall:
New-NetFirewallRule -Name sshd -DisplayName 'OpenSSH Server' -Enabled True -Direction Inbound -Protocol TCP -Action Allow -LocalPort 22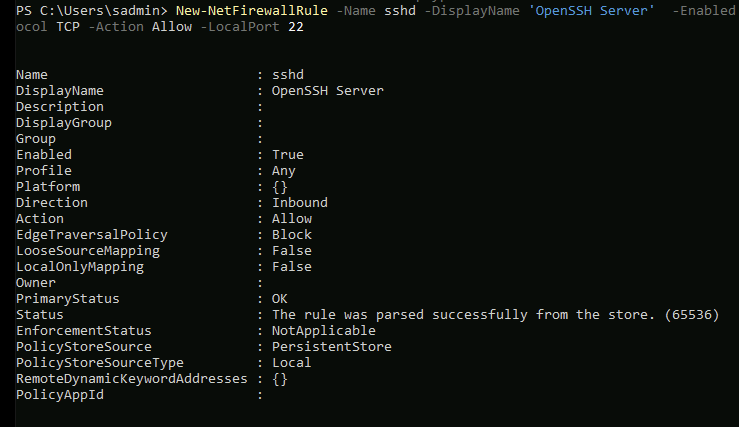
To check the status of the SSH service, use the following command:
Get-Service sshd 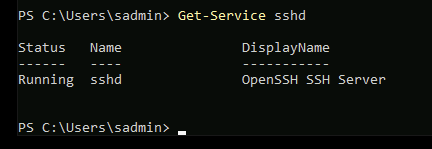
Now try connecting to this system from another machine on the same network.