Table of Contents
- Introduction
- Burp Suite settings
- Physical Android Phone settings
- Burp's CA Certificate
- Install .crt on your Android
- Testing: intercepting HTTP traffic
1. Introduction
Burp Suite is a popular tool used for security testing and ethical hacking.
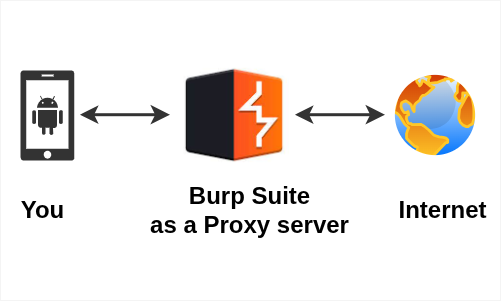
One cool feature of Burp Suite is that it can work as a proxy.
In this article, I’ll show you a very simple working example of how Burp Suite acts as a proxy. This will help you understand what a proxy server does — with a real, hands-on example.
I’m using Windows 11 for this article.
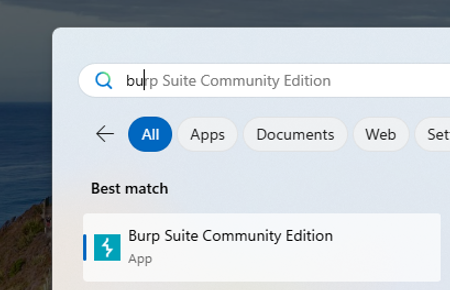
First, download and install Burp Suite Community Edition.
Find out IP address of this machine and note it down because we will need this later:

2. Burp Suite settings
Let's do Proxy settings for Burp Suite as mentioned in the image below:
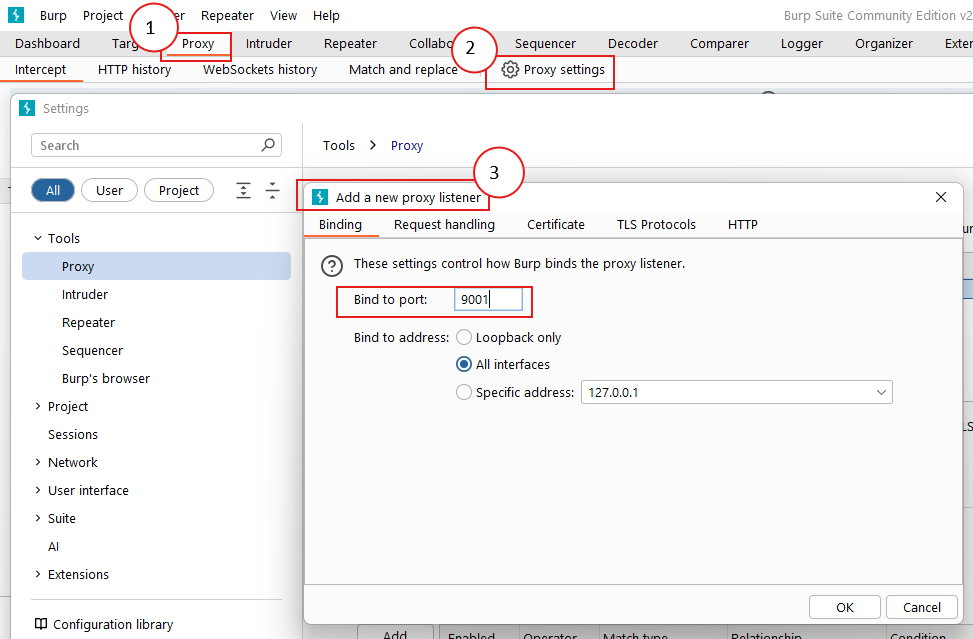
- Go to Proxy menu
- Then, Proxy Settings
- Add a new proxy listener
- Bind to port: 9001 (can be any custom port number)
- Bind to address: All interfaces
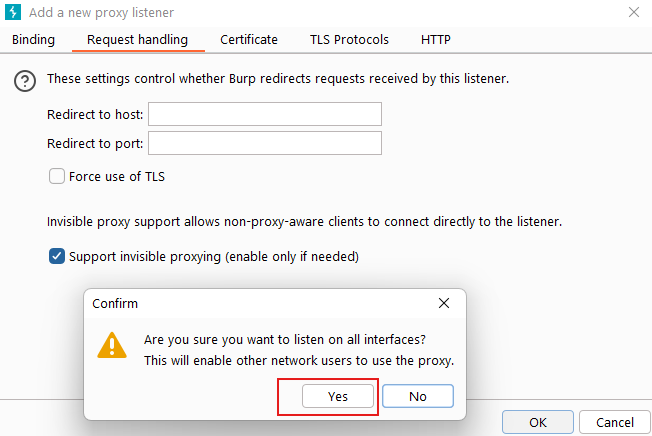
- Go to Request handling
- And check Support invisibile proxying
- Click Yes
Proxy Intercept on, if you will:
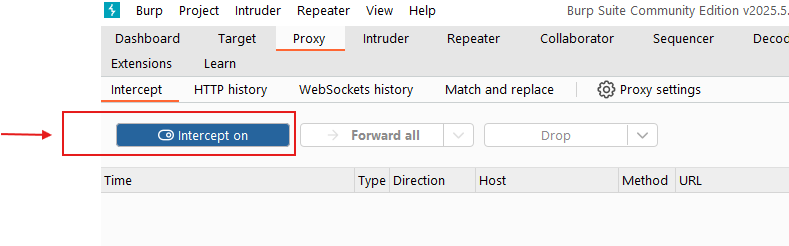
The Proxy intercept feature allows users to capture, inspect, and modify HTTP/S traffic between client and server.
3. Physical Android Phone settings
In this section, I’m using a Pixel 7.
Important: Both your computer (with Burp Suite installed) and the Pixel 7 must be connected to the same Wi-Fi network (same SSID).
First, edit the Wi-Fi settings on your Pixel 7 as shown in the image below:
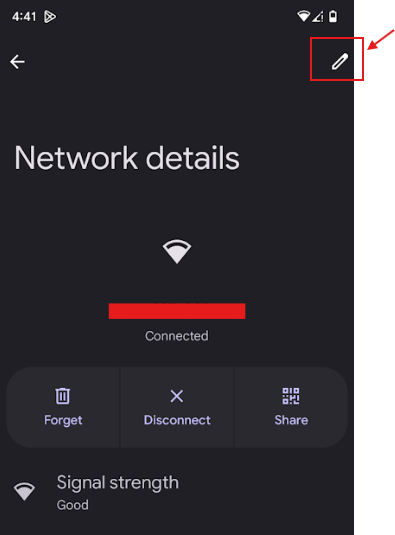
As shown in the image below:
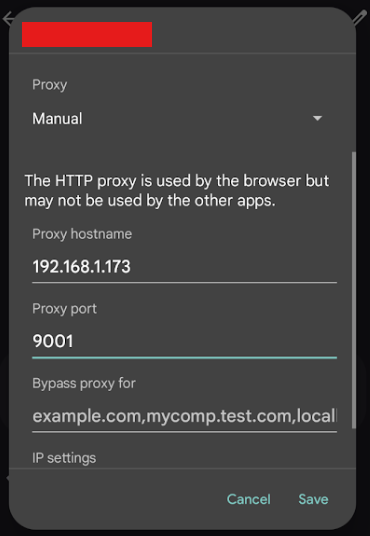
- Select Proxy to Manual
- Provide IP address that we noted at the beginning
- And Proxy Port based on settings that we created on Burp Suite settings
- And save it
Now, try visiting any website in your browser. You might see an error similar to the one shown in the image below:
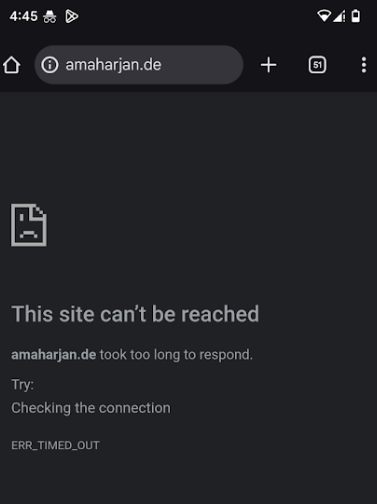
This site can't be reached. ERR_TIMED_OUT.
This happens because the Burp Suite CA certificate hasn’t been installed on the Pixel 7 yet.
4. Burp's CA Certificate
Let’s go ahead and install Burp’s certificate on the Pixel 7. First, switch back to Burp Suite and follow these steps:
- Goto Setttings > Tools > Proxy >
Import / export CA certificate
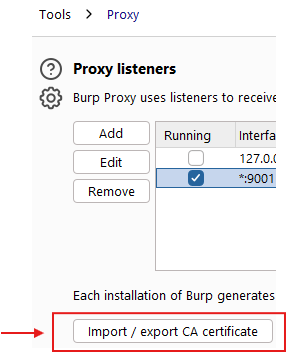
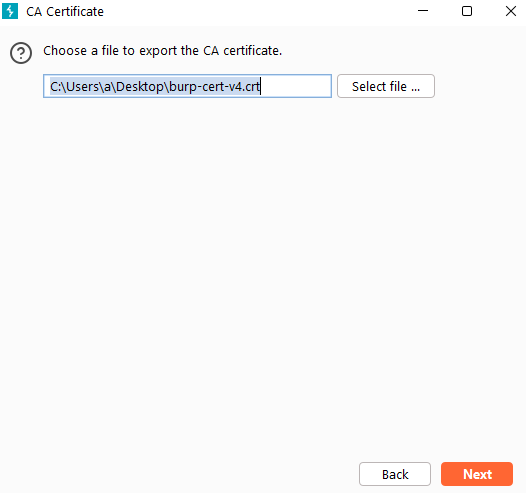
- Select
Certificate in DER formatfrom the Export section - Provide path and file name (e.g., C:\Users\a\Desktop\burp-suite-cert-v4.crt ) to be exported
- Click Next
5. Install .crt on your Android
At this time, transfer the burp-suite-cert-v4.crt file to your Android phone using USB or Bluetooth—whichever you prefer.
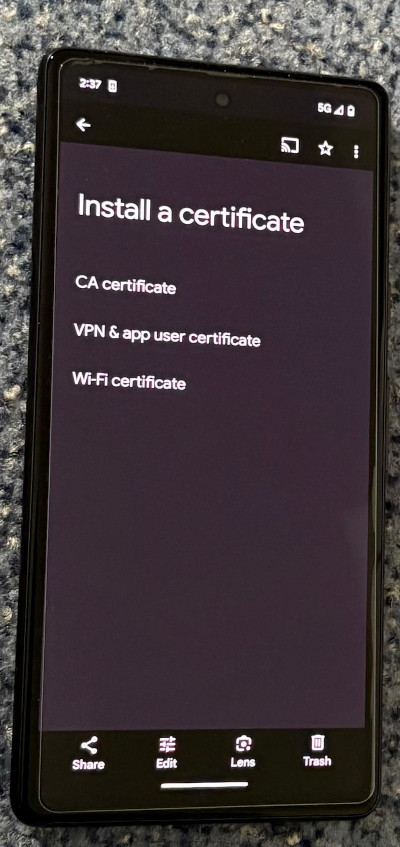
Then, go to Settings and search for certificate.
Click on Install a certificate. Use burp-suite-cert-v4.crt for both CA certificate and Wi-Fi.
6. Testing: intercepting HTTP traffic
Finally, once everything is set up, it’s time to test.
- From your Pixel 7 browser visit any website (for example
https:wikipedia.org) - As, soon as you hit
https:wikipedia.orgfrom the phone switch back to the Burp Suite - Check your Burp Suite (see Figure 12). The request to wikipedia will be shown
- Now, you can manipulate the request however you like
- If you forward this
requesttohttps:wikipedia.org, The Pixel 7 will receiveresponsefrom Wikipedia and content will be shown on the screen.
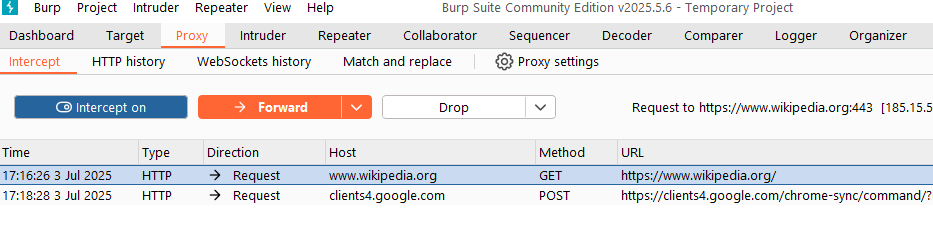
Figure 12. Burp Suite's interception on https:wikipedia.org
Great! You’ve now learned the basics of proxy, HTTP traffic interception and the Burp Suite. I hope you enjoyed the article. If you have any feedback, suggestions for improvement, or would like to collaborate, feel free to reach out — you can email me at hello@amaharjan.de.